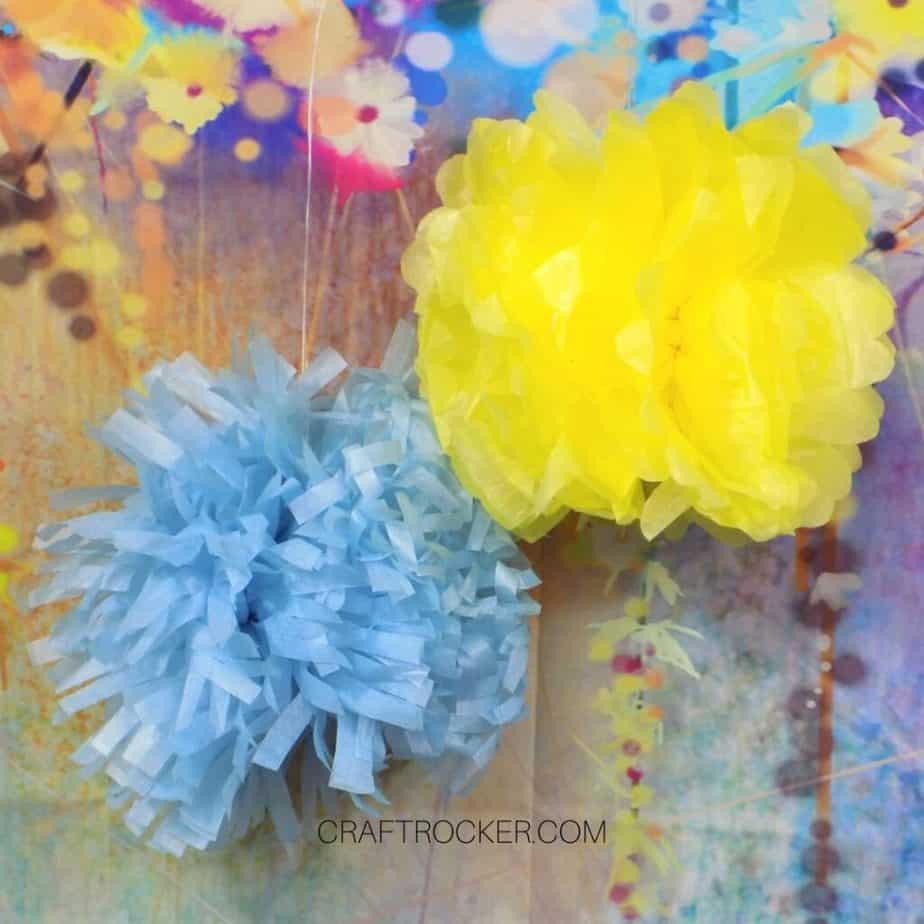
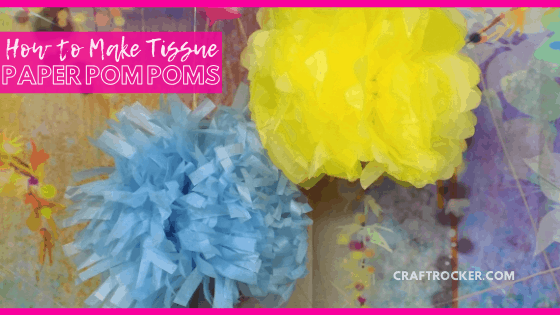
Learn how to make tissue paper pom poms for the perfect budget-friendly party decor idea!
Affiliate links may be used in this post. Ordering a product through these links may result in a commission at no extra cost to you. Read the full disclosure here.
Jump to What You Want


I love working with tissue paper for crafts. It’s an inexpensive material that honestly doesn’t get enough love.
I’ve used it for decoupage projects, Christmas ornaments, and even paper beads.
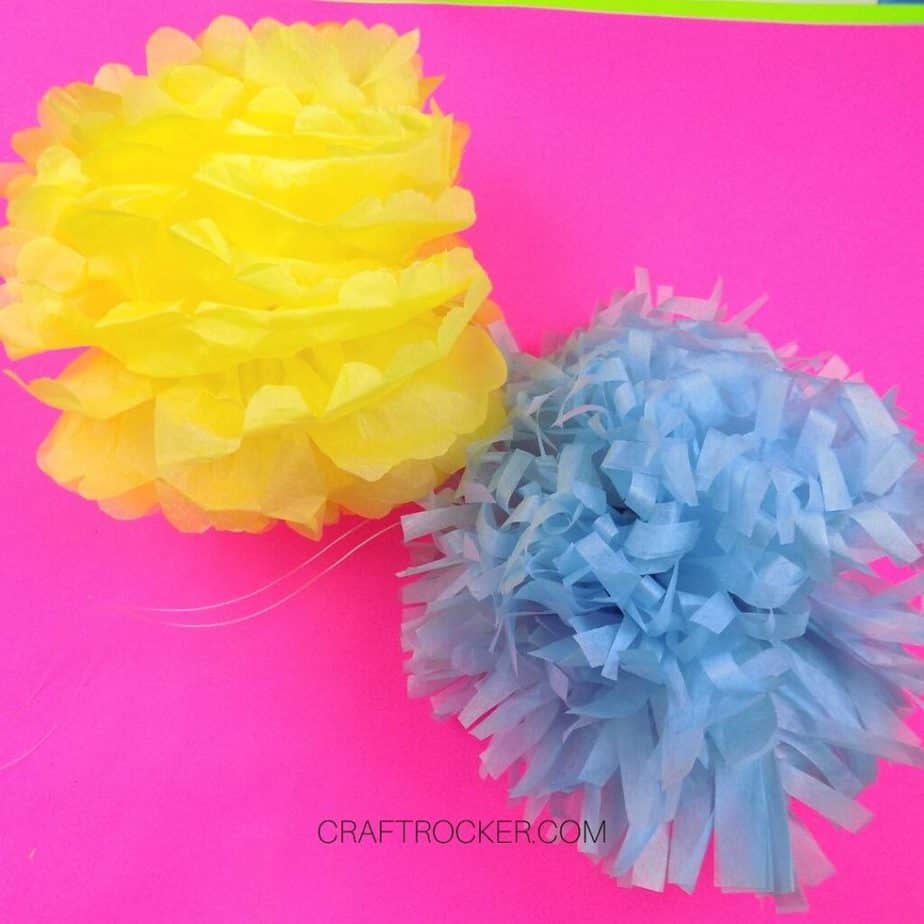
Of course, it also makes gorgeous, colorful and wallet-friendly pom poms like these for every celebration.
Materials for Tissue Paper Pom Poms
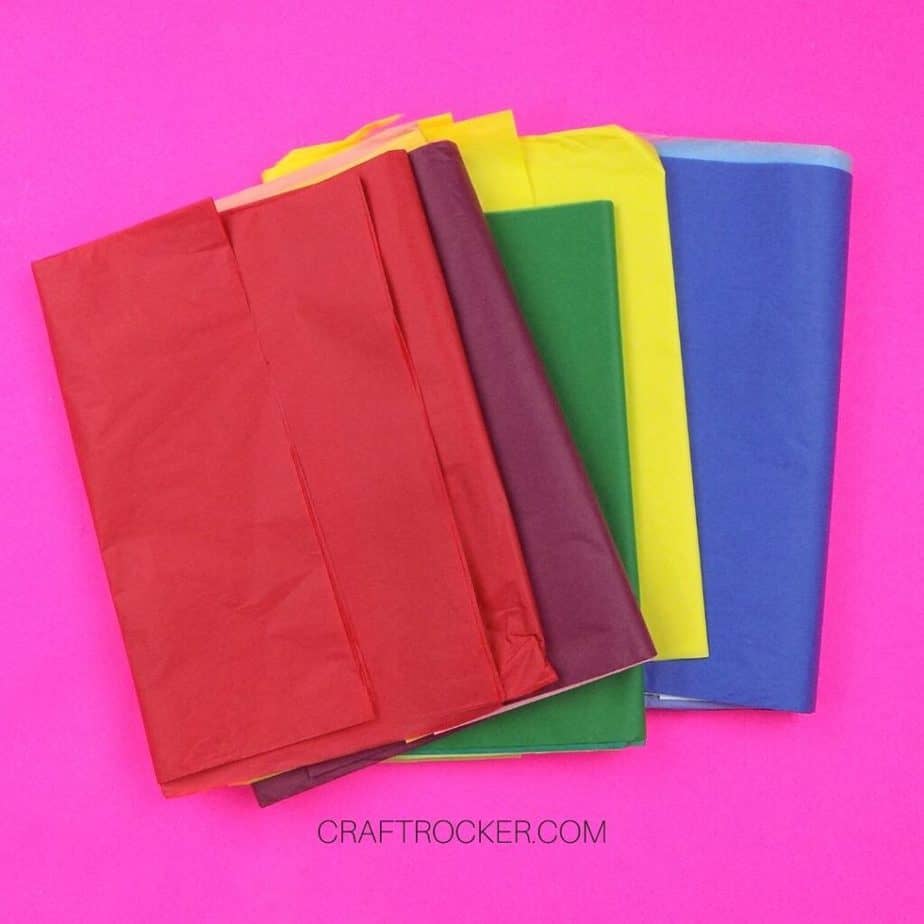
Multiple Colors of Tissue Paper (at least 20 sheets per pom pom)
Fishing Line or Other Clear Thread
Scissors
Optional Tools
Writing Utensil (like a marker)
How to Make a Traditional Tissue Paper Pom Pom
Step 1
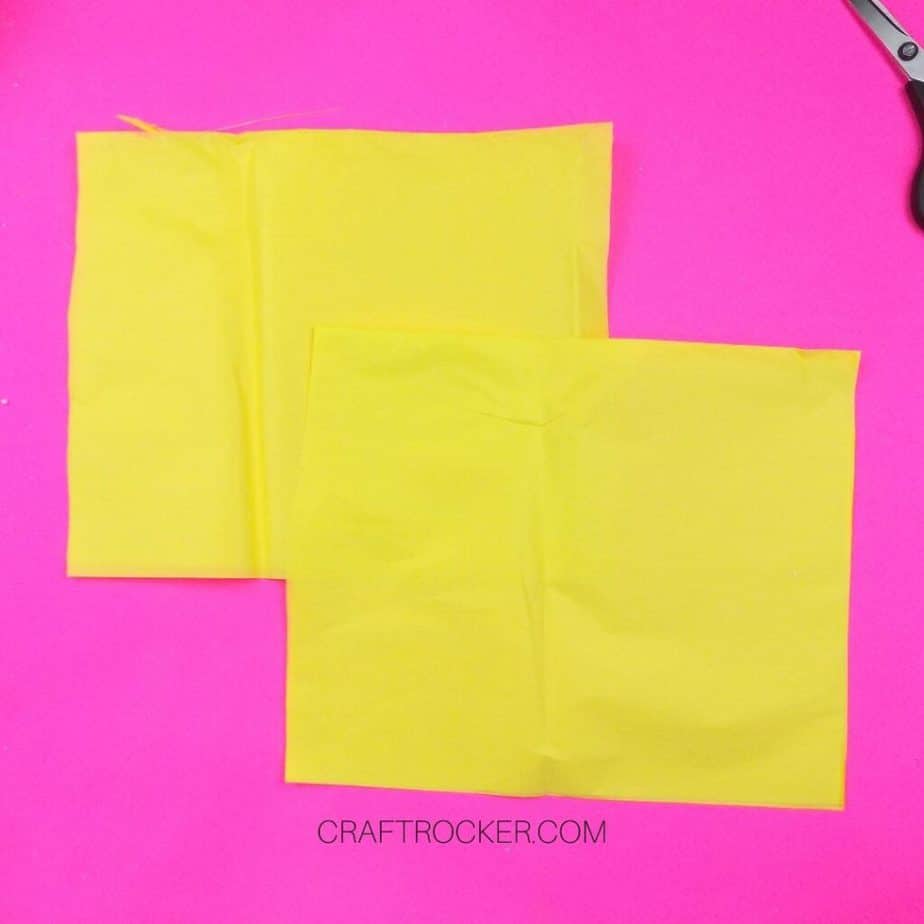
First, cut 10 full size sheets of tissue paper in half. Make sure that you fold the pieces in half along the longest edge of your sheets to create a guide for cutting.
If you don’t ensure that your halves are equal then your pom pom won’t have that nice round shape that you want.
Note:
I cut my full size sheets in half twice for the purposes of this tutorial. If you want the same size that I made, then do the same and cut your full size sheets along the long folded edge.
Step 2
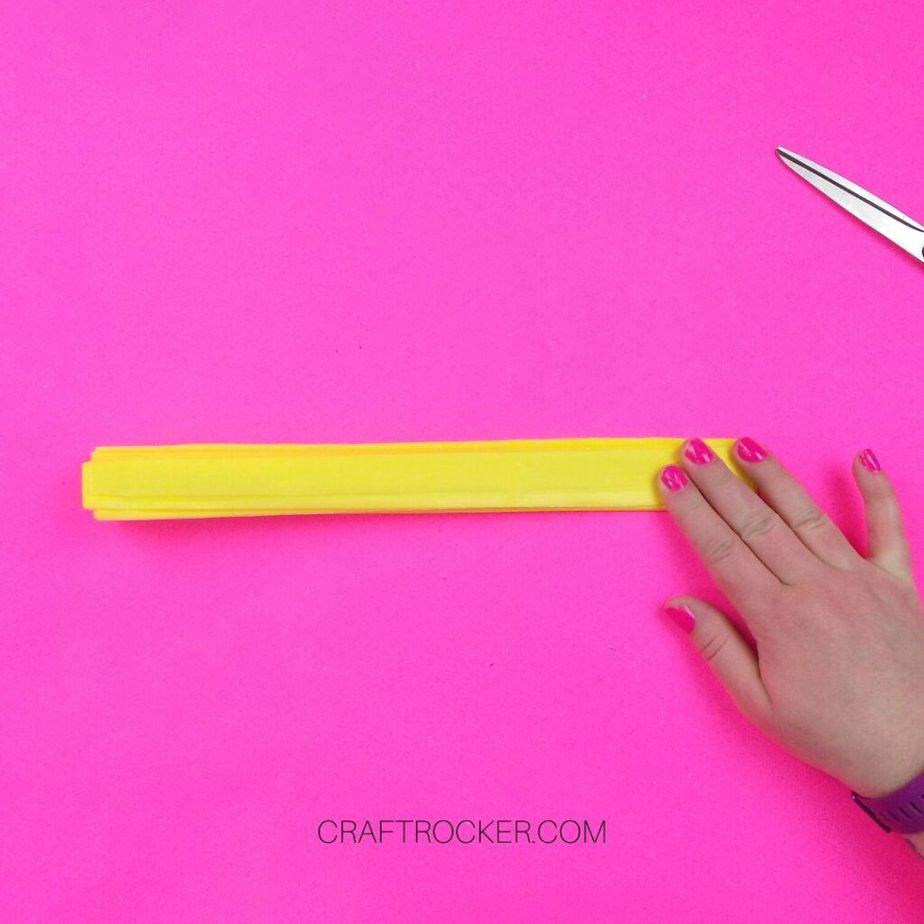
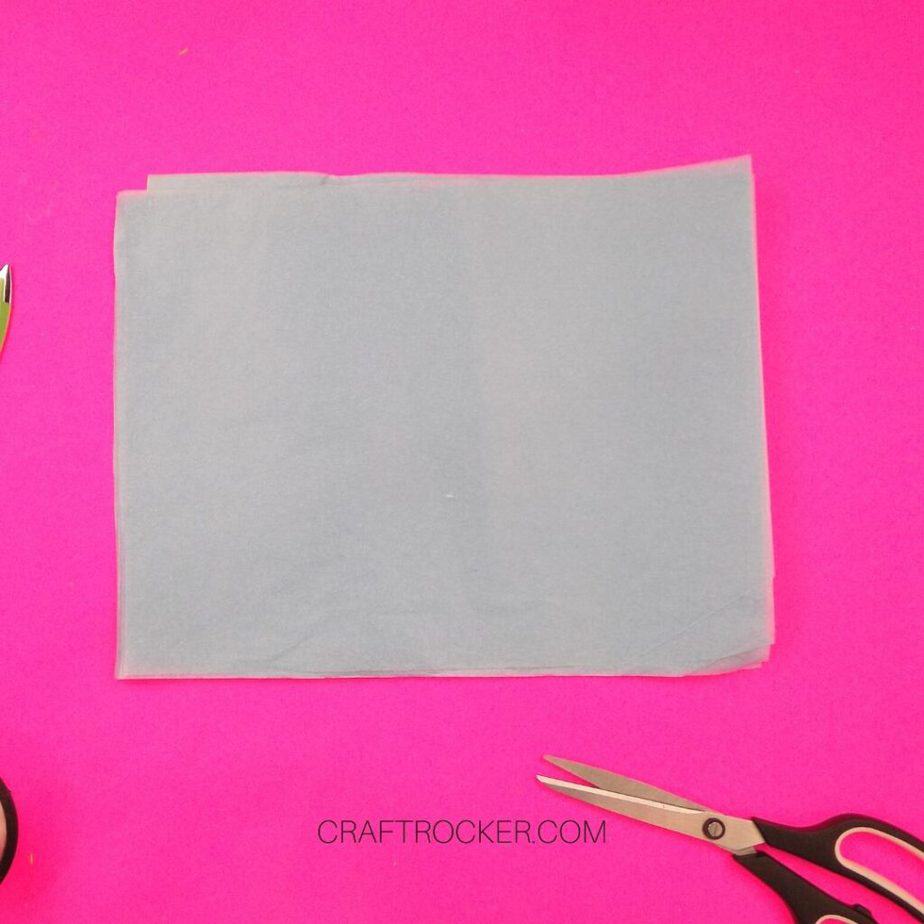
After your sheets are cut in half, stack them together so that the edges are aligned. Now you should have a stack of 20 sheets of tissue paper.
Step 3
Next, accordion fold all of your sheets of tissue paper together.
If you have a boning tool, run it along the folded edges to get nice, crisp folds.

Step 4
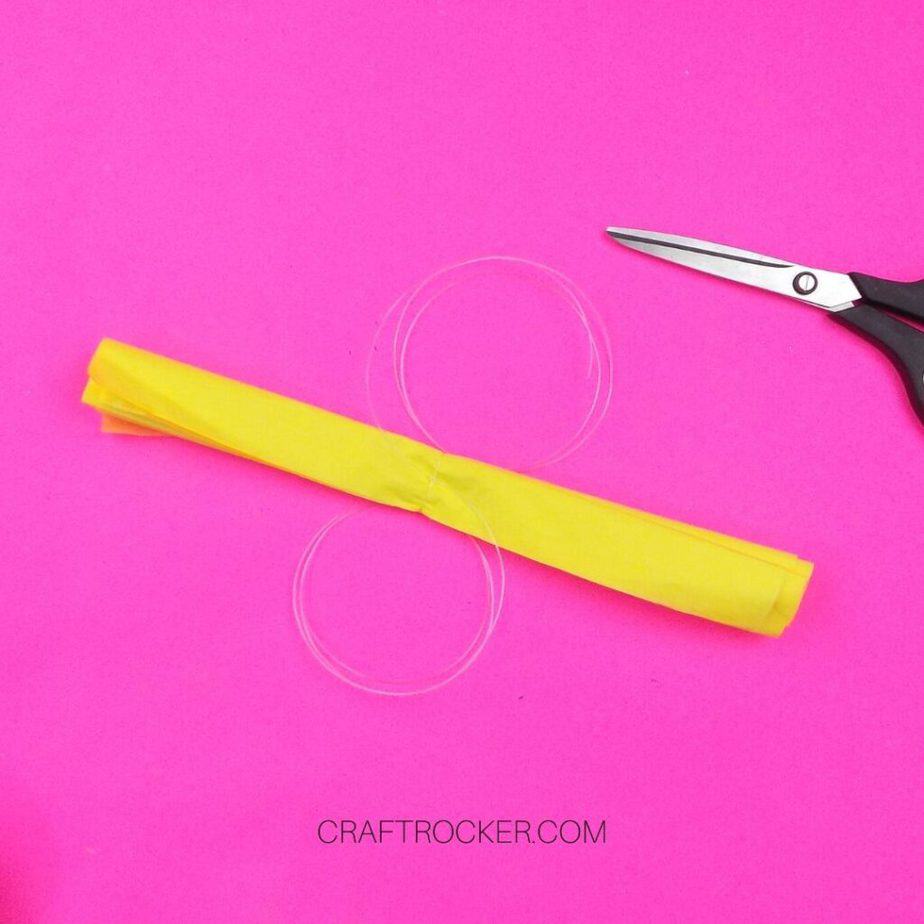
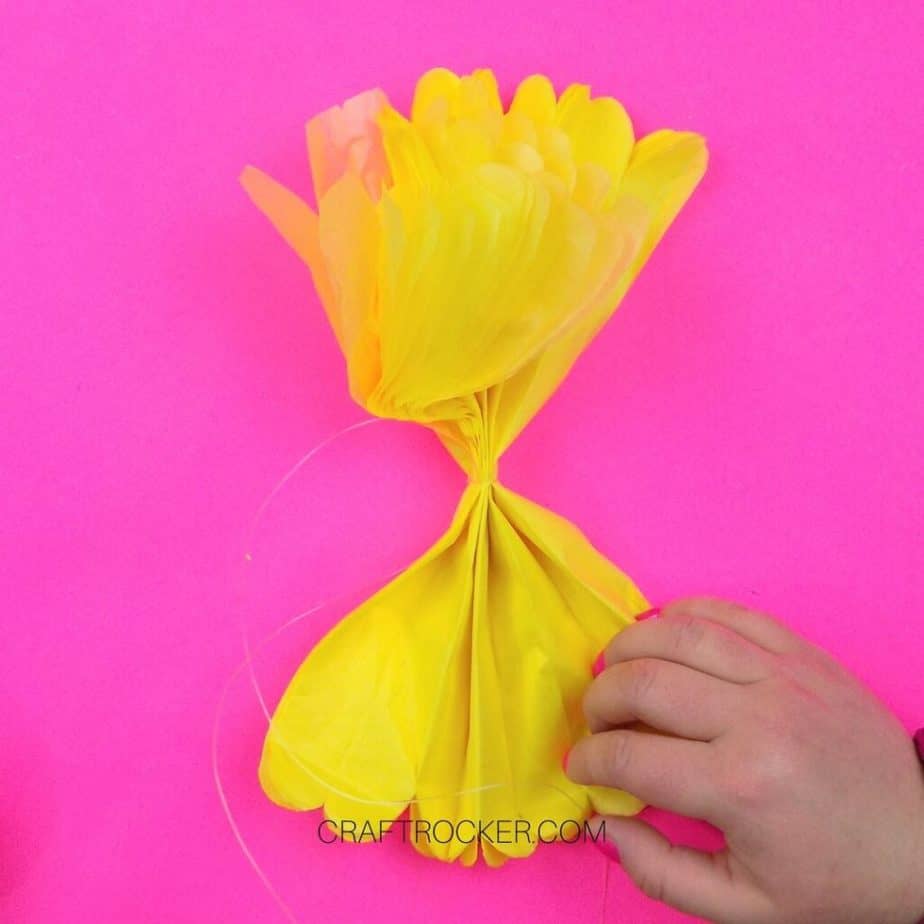
Now, fold your folded strip of tissue paper in half longways. Then tie a piece of fishing line around the fold.
Make sure that it is tied as tightly as possible.
Also use a long length of fishing line. If makes the pom pom easy to hang later and you can always trim is shorter if necessary.
Step 5
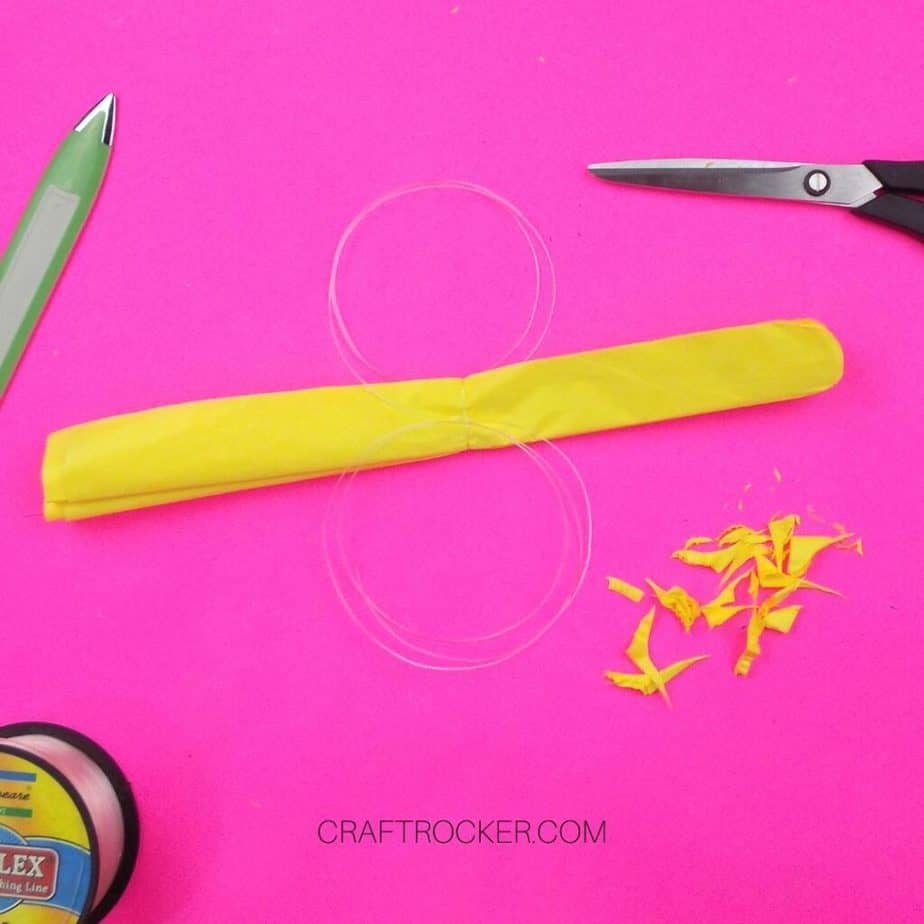
Once your tissue paper is folded and tied, round the narrow edges with your scissors.
If you’re having trouble making them even, use your marker to draw a semi-circle on each end as a guide.
Step 6
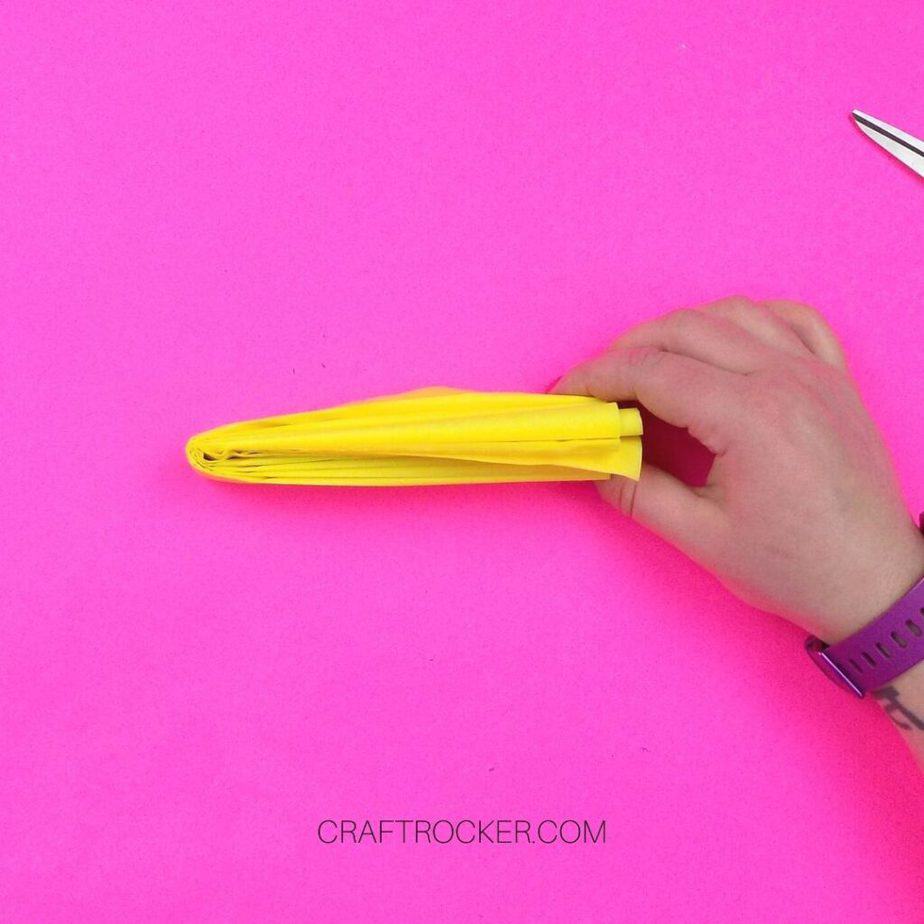
Next it’s time to pull apart your pom pom. To make this easier, start by gently separating each layer.
This will help them not tear as easily while you pull them apart.
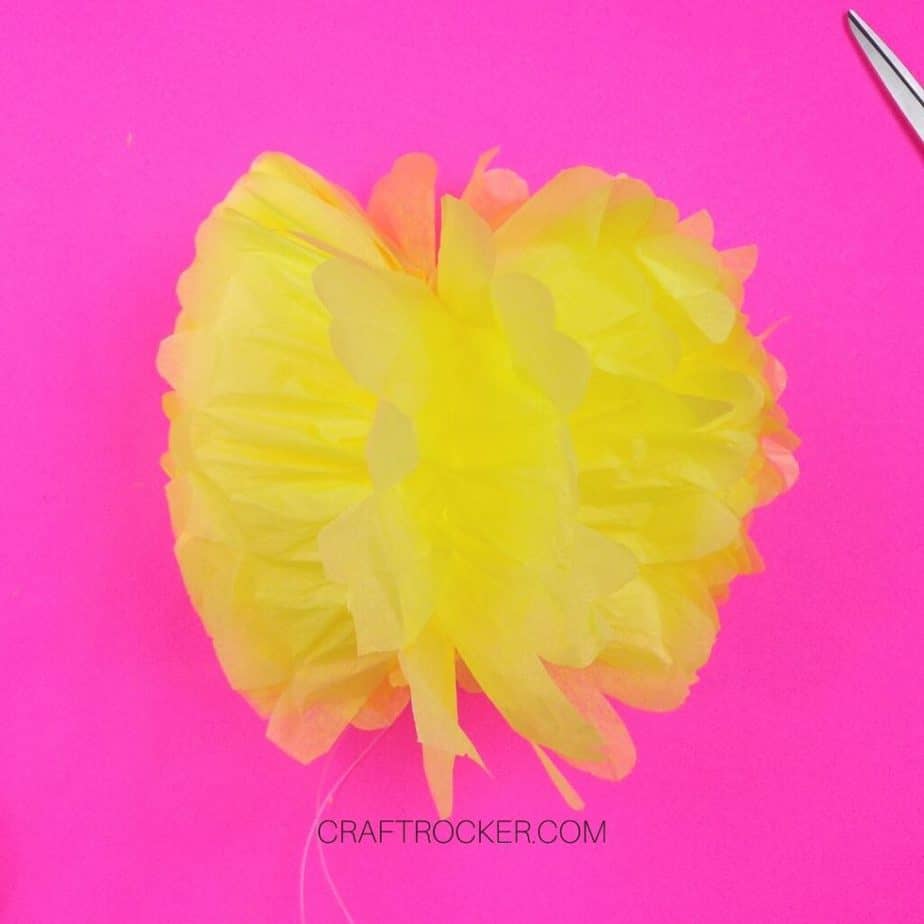
Step 7
Now pull down one sheet at a time, alternating sides as you go. That helps ensure that you fluff it evenly.
Still be careful and go slow so that you don’t tear your layers.
Step 8
Once you reach the last layers, only pull them down slightly so that you have a center guide to create a nice round pom pom.
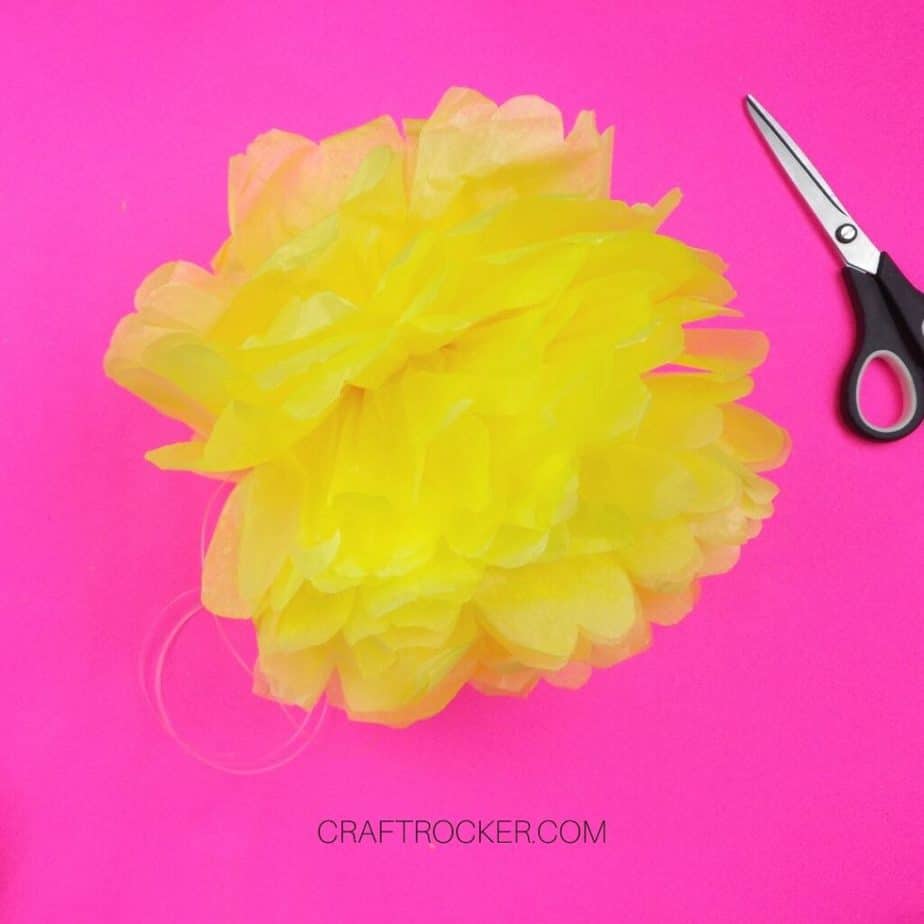
Step 9
Lastly, finish fluffing your pom pom.
How to Make Fringe Tissue Paper Pom Pom
Step 1
Again, start by cutting 10 full sheets of tissue paper in half along the long edge.
Remember to fold it in half before cutting so that you have even halves after.
Step 2
Next, stack your sheets with the edges aligned evenly so that you have a neat stack of 20 pieces of tissue paper.
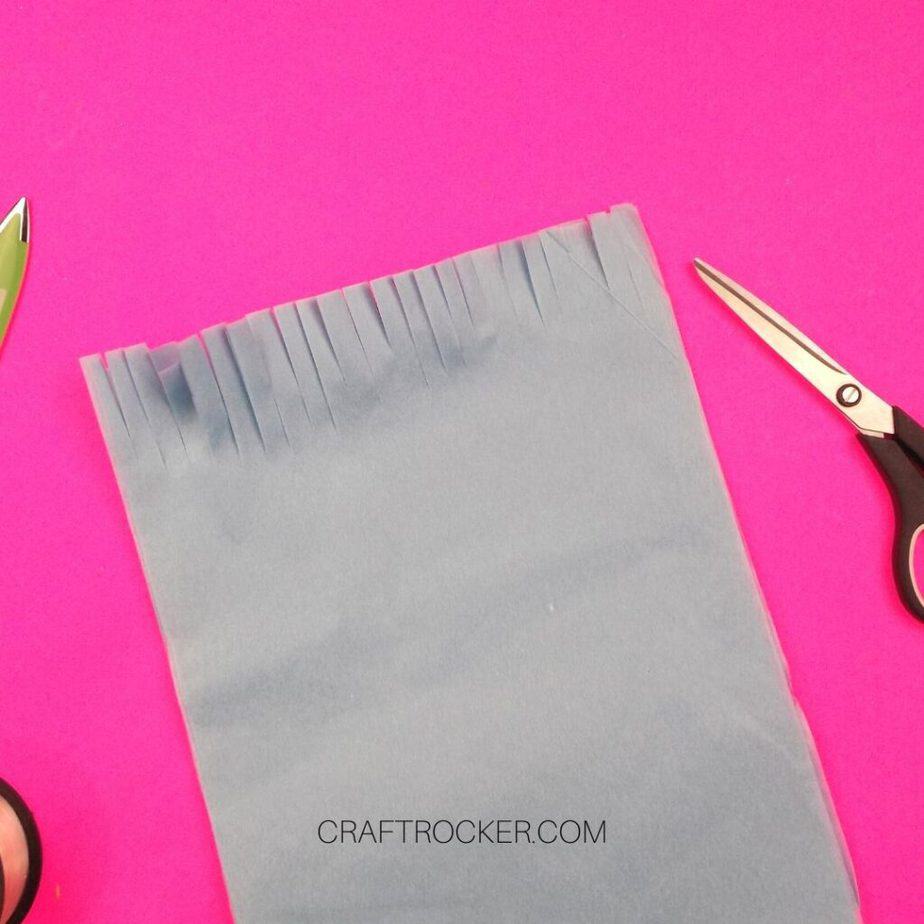
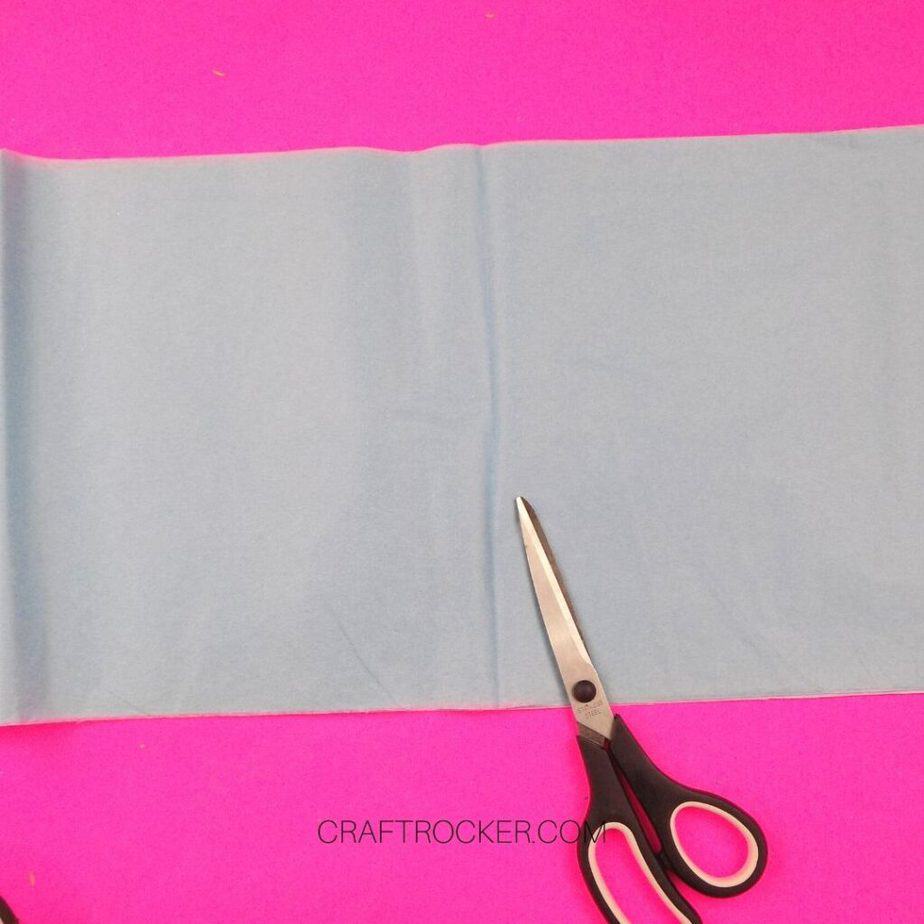
Step 3
Now, before folding your stack, fringe cut the shorter sides of the sheets. Cut at least 3 inches deep so that the uncut area won’t be readily visible later.
Step 4
After your fringes are cut, then accordion fold the sheets so that the fringes are on the narrow ends.
Again, you can use your boning tool to get crisp folds. Use care and work from the center-out to make sure that you don’t tear the fringes.
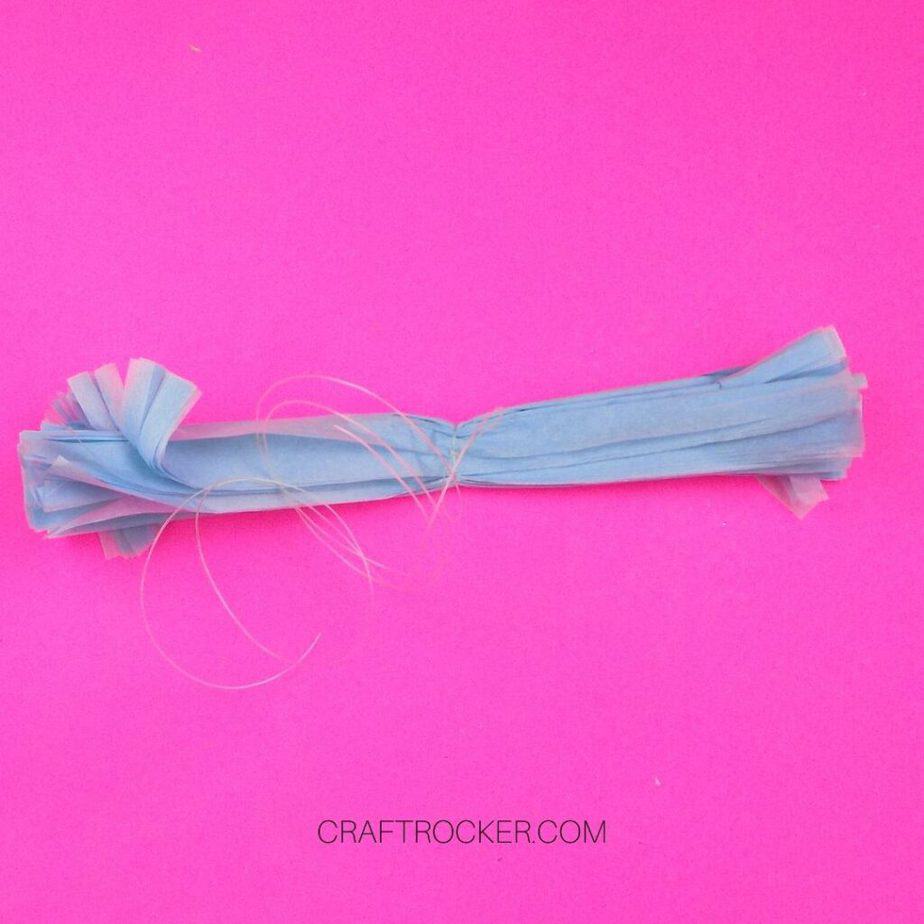
Step 5
Again, fold your accordion folded paper in half longways to find the center. Then tie a long length of fishing line around that center.
Remember that you can always shorten the line later if needed.
Step 6
After your line is tied around the center, pull apart your layers. Alternate sides for an even pom pom.
Go slow and be careful. The fringes can tear easily.
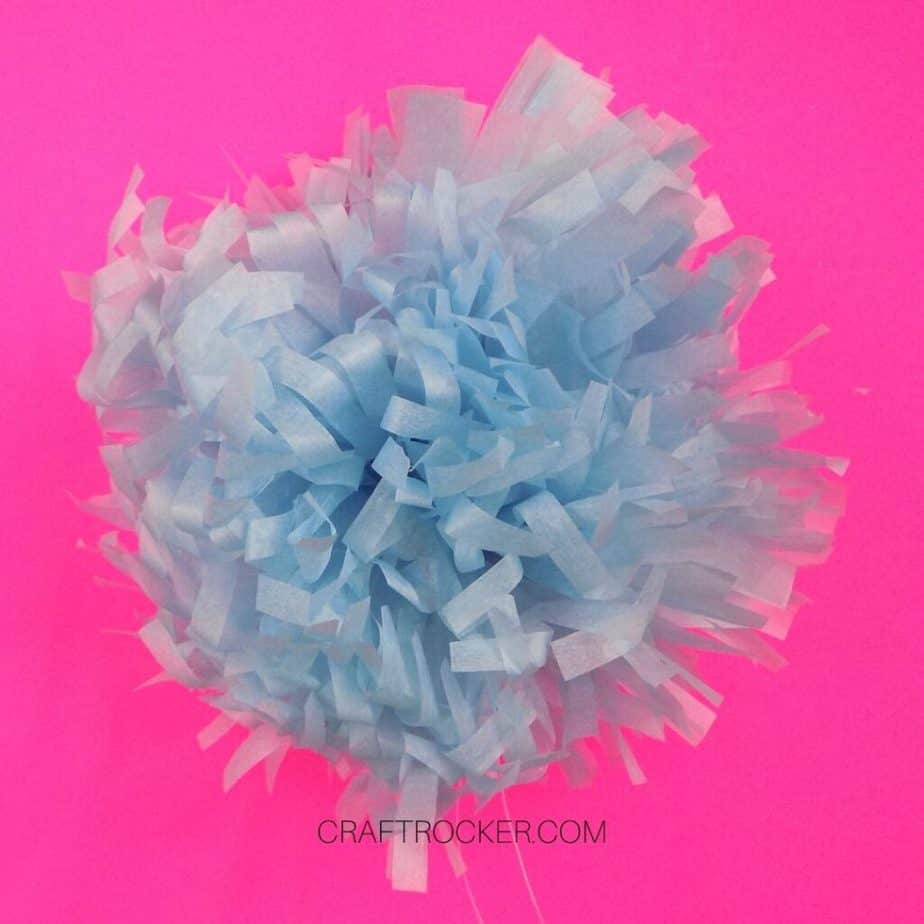
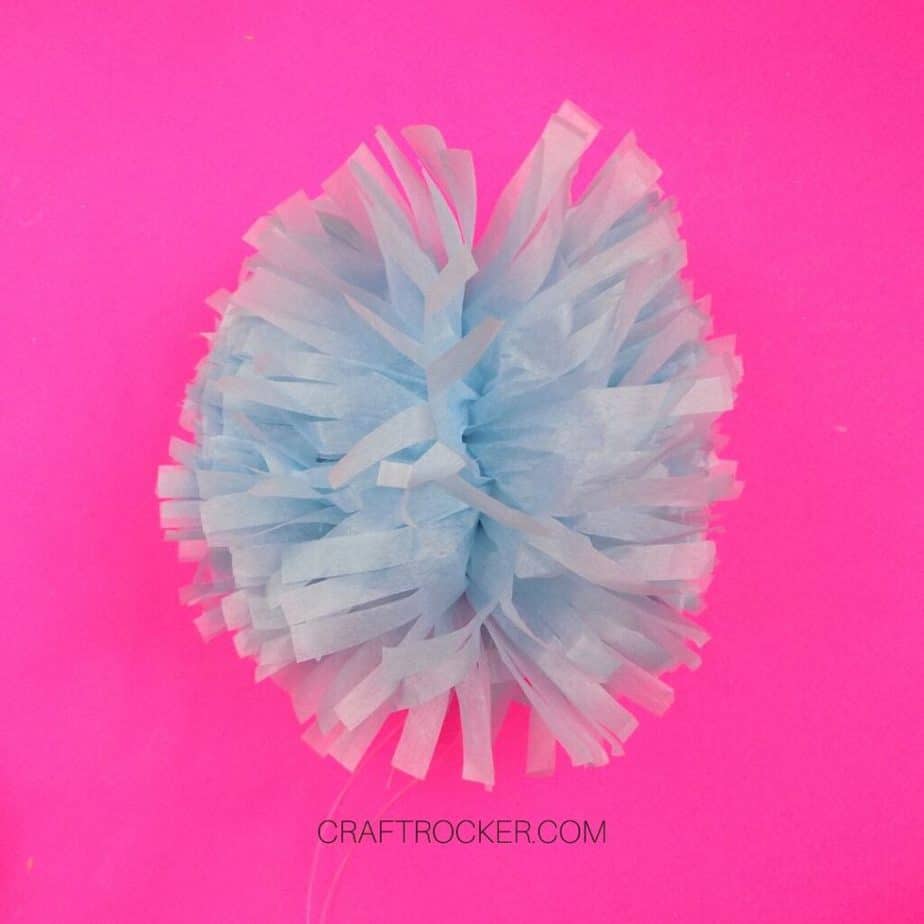
Step 7
Once all of your layers are pulled apart, fluff your pom pom and enjoy.
How to Make Tissue Paper Pom Poms Multicolored
To make your tissue paper pom poms multicolored, start by layering different colors of whole sheets of tissue paper together until you have 10.
Make sure that you choose colors and patterns that go well together, otherwise your pom poms will look messy and chaotic. Coordinating packs make this super easy to do.
Once you have your sheets lined up and stacked, follow either of the methods above to create your pom poms.
How to Hang Tissue Paper Pom Poms
Hang them from the ceiling.
To hang your pom poms from the ceiling, use the fishing line that you tied in the center.
Knot the loose ends together at the height you want it to hang and then use tape or a small hook to attach the line to the ceiling.
For the best results, hand your pom poms at varying height to create visual interest.
Display them on the wall.
Tissue paper pom poms also make a great wall decorations. Because they are so light weight you can use tape to attach them.
Create clusters of pom poms for decoration or make an awesome photo backdrop by covering an entire wall with them.
Use them as centerpieces.
You don’t have to hang your pom poms at all. Place them on tables as centerpieces, decor accents, or even as a table runner-type style.
Tissue paper pom poms are inexpensive and versatile party decor.
Once you know how to make tissue paper pom poms you can easily customize them for any celebration.
Tissue paper comes in so many varieties of colors and patterns, you’ll be able to create the perfect decoration for any party theme you want.
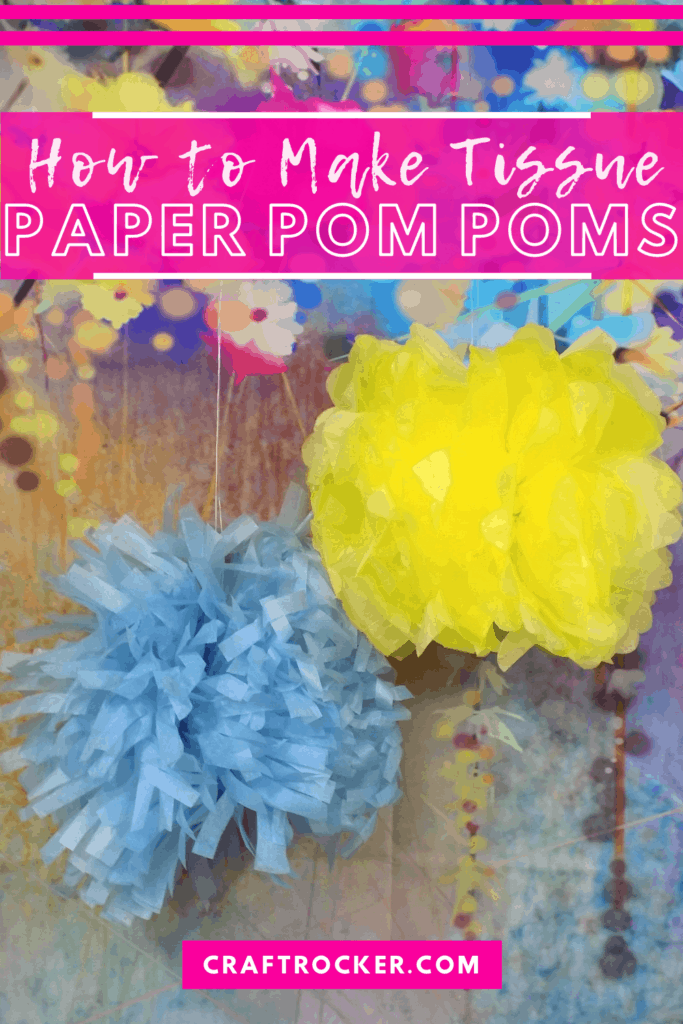
Don’t Forget to Pin It!
More Easy Projects:
How to Make a Bow out of Wrapping Paper
How to Make Paper Beaded Bracelets

Leave a Reply