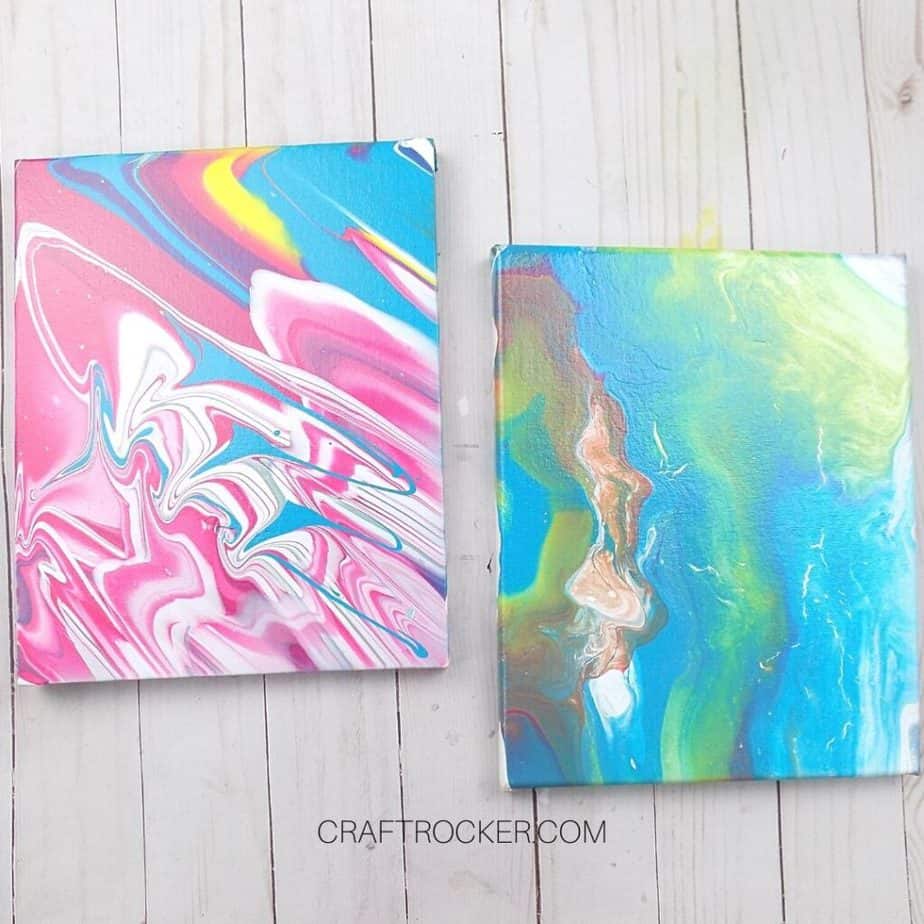
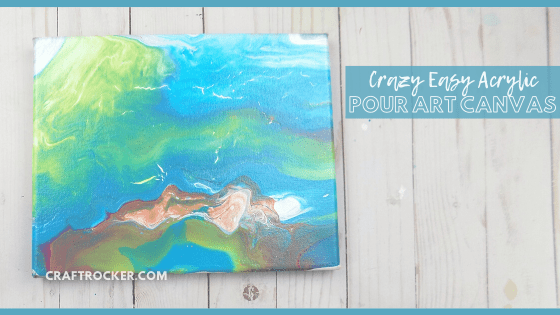
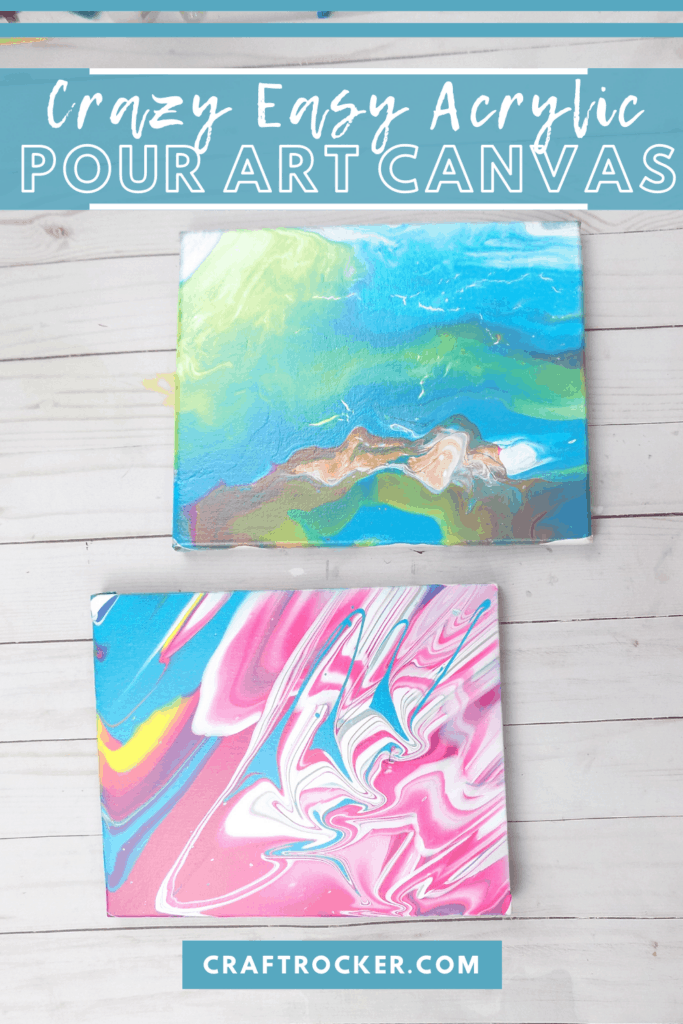
This crazy easy acrylic pour art canvas is a fantastic way to get started making your own fluid art!
Affiliate links may be used in this post. Ordering a product through these links may result in a commission at no extra cost to you. Read the full disclosure here.
Jump to What You Want
Printable Acrylic Pour Art Canvas Tutorial
How many times have you gotten mesmerized by those videos of paint pour art online? It is so much fun to watch that paint flow over the canvas.
Well, it turns out that it’s just as much fun to watch it in real life as you make it.
Seriously, so much fun. Even better, using ready-to-pour paint makes it incredibly easy. Simply fill your cup and pour.
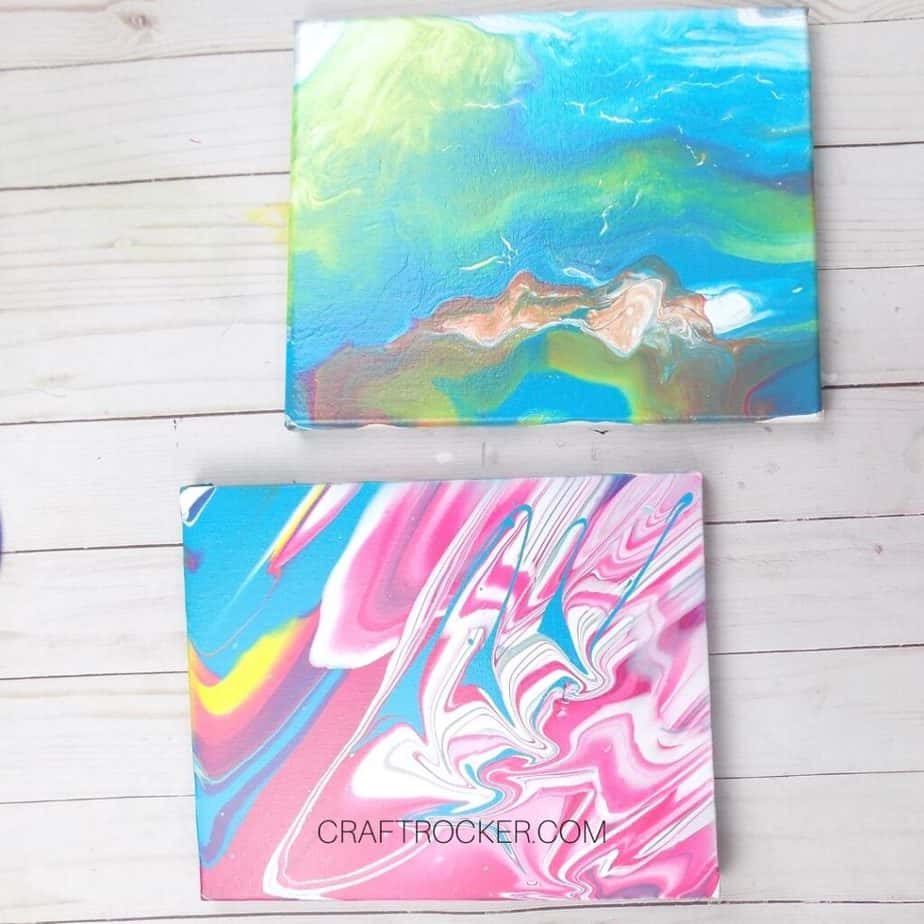
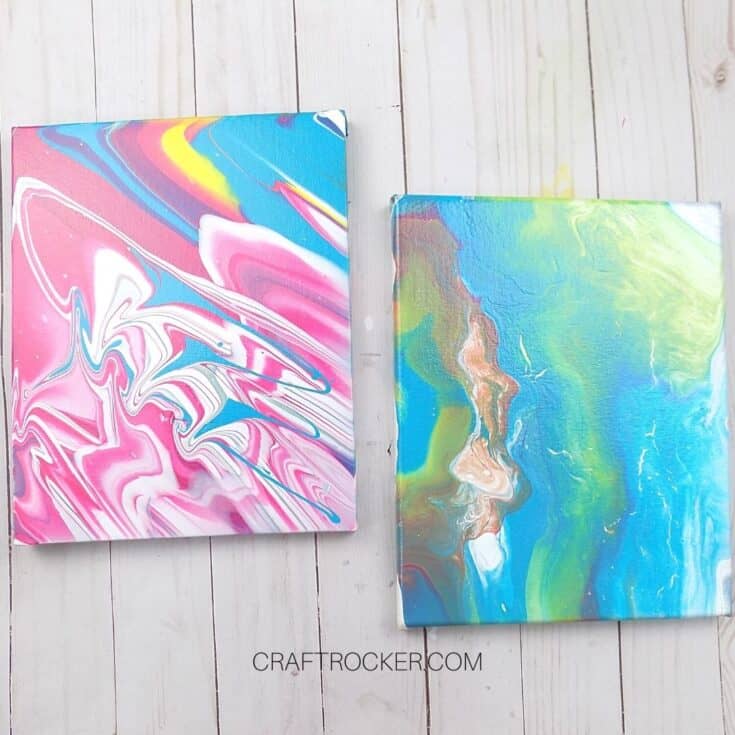
I’m sharing 3 different fluid art methods with you so you can make the perfect acrylic pour wall art for your home!
Materials for Acrylic Pour Art Canvas
Stretched Canvases (I picked up a couple at the Dollar Tree)
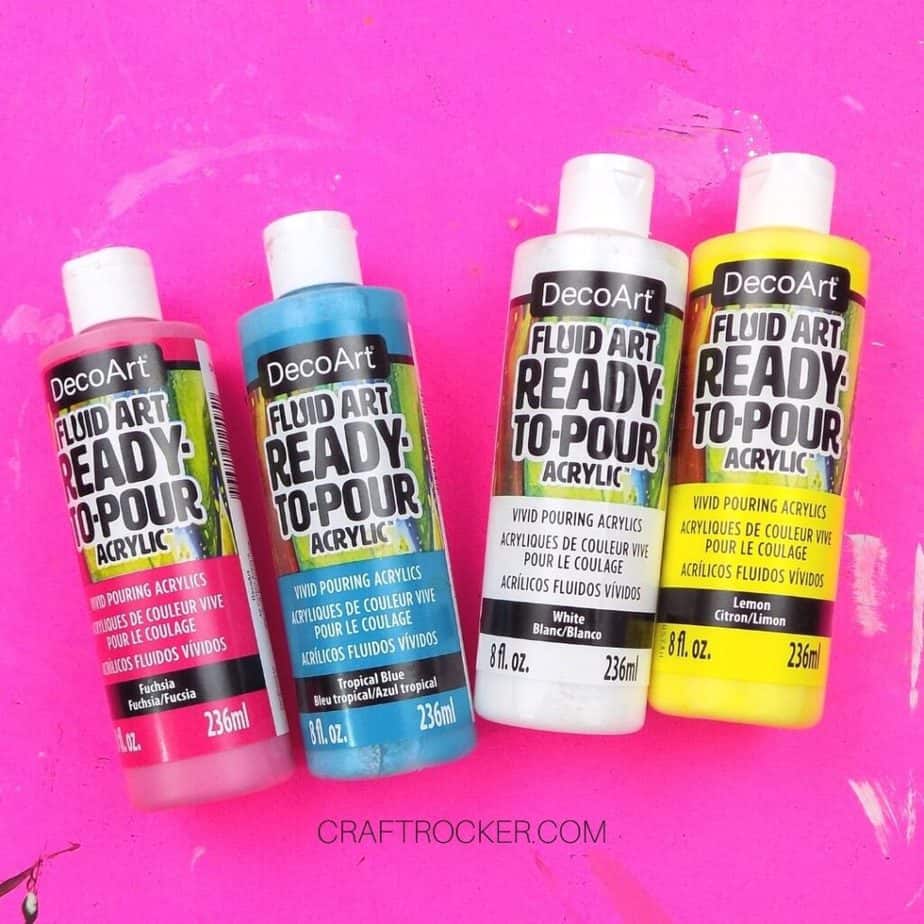
DecoArt Fluid Art Ready-to-Pour Acrylic (I used fuchsia, tropical blue, lemon, and white)
Small Plastic Cup (I used an old yogurt container)
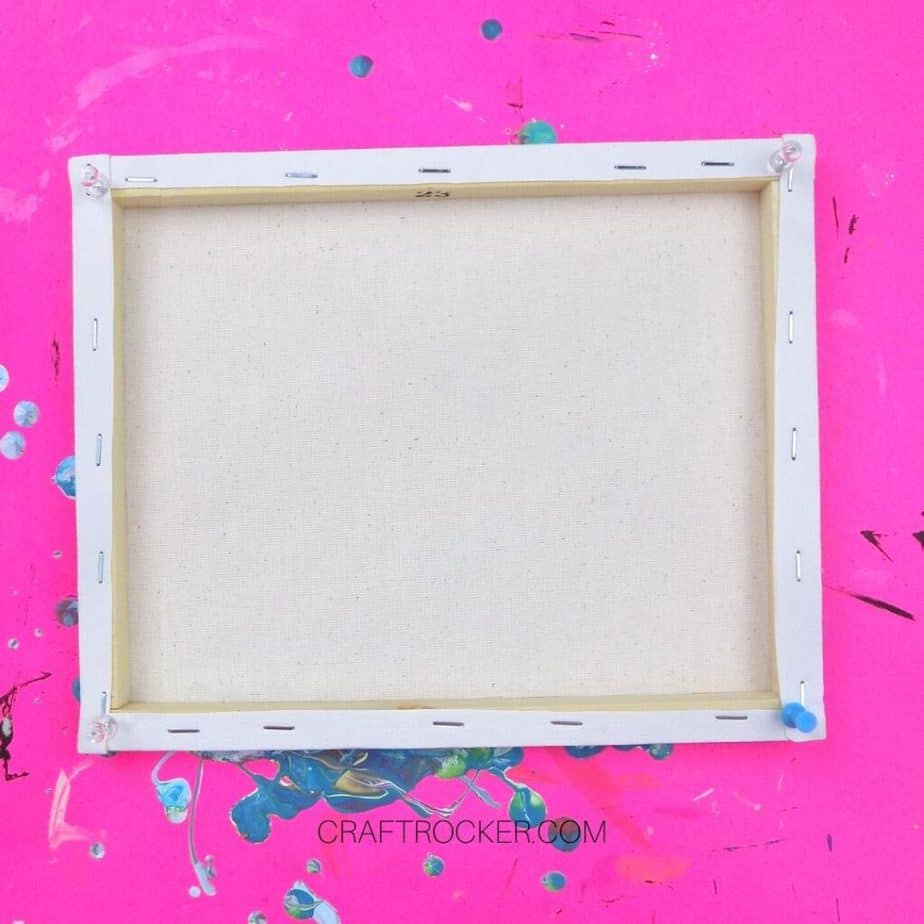
Step 1 – Prep Your Canvases
Before you get started, prep your canvases for the acrylic pour art. Remove any packaging from the canvases.
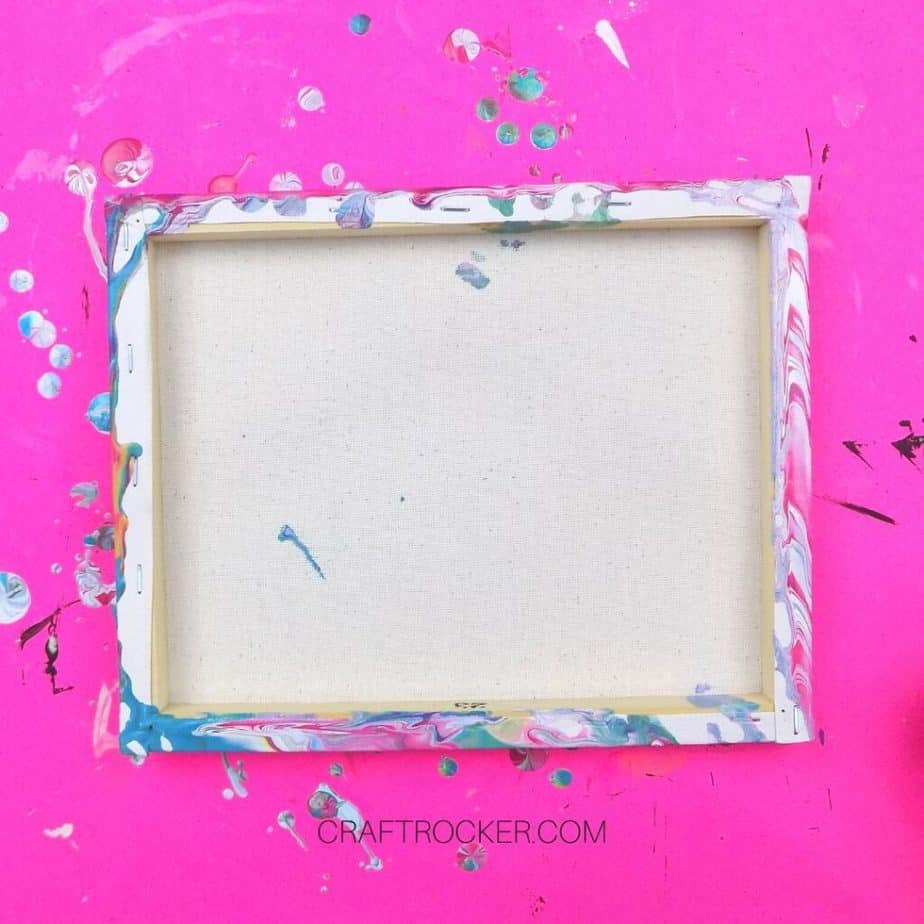
Then add push pins to each corner on the back of the stretched canvas. This keeps it off of your work surface to prevent sticking but also to allow the paint to flow freely down the sides of the canvas.
Step 2 – Pour Your Paint
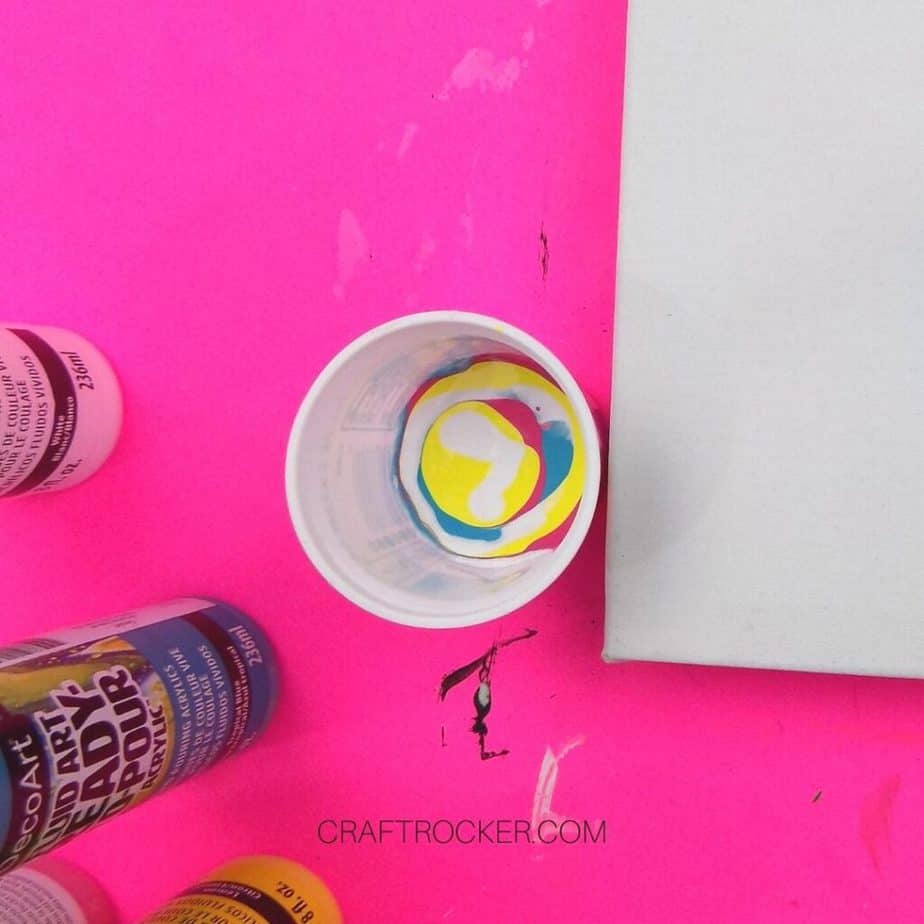
After your canvases are prepped, fill your cup halfway with your paint, alternating between colors. I started with white and then continued adding a small amount of each color, alternating until the cup was halfway full.
Once your cup is halfway full of paint, pour it onto your canvas. I used 2 different methods but included 3 methods below.
Paint Pouring Methods
Fluid Art Method 1
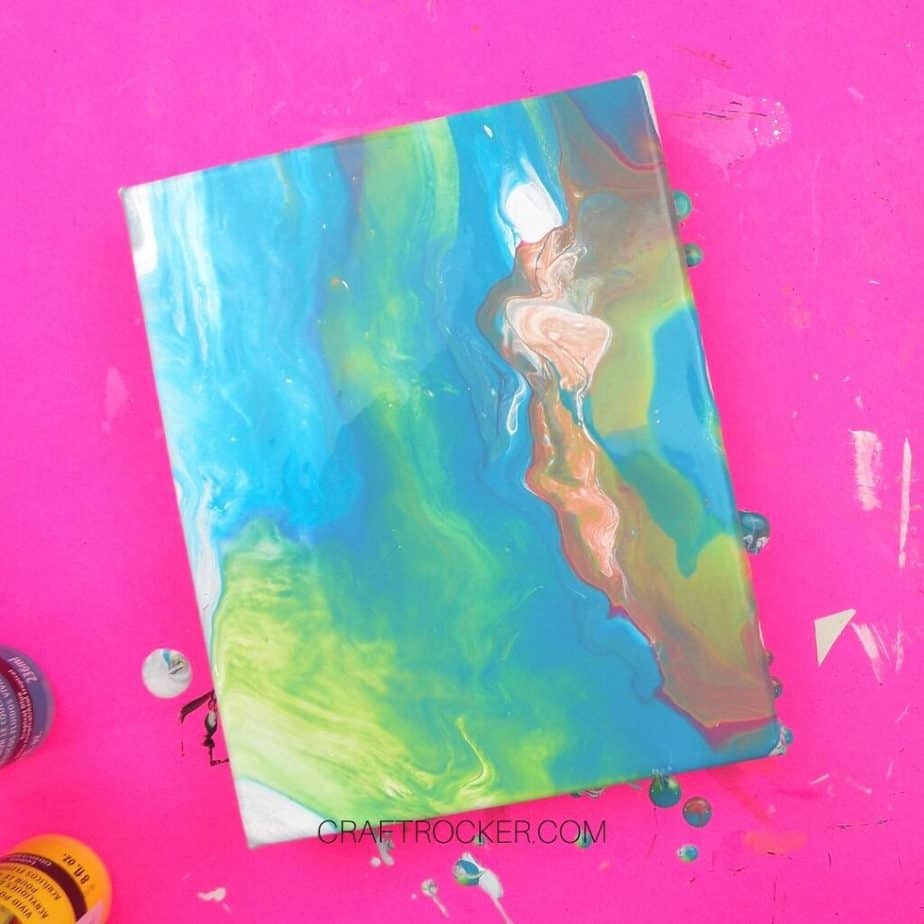
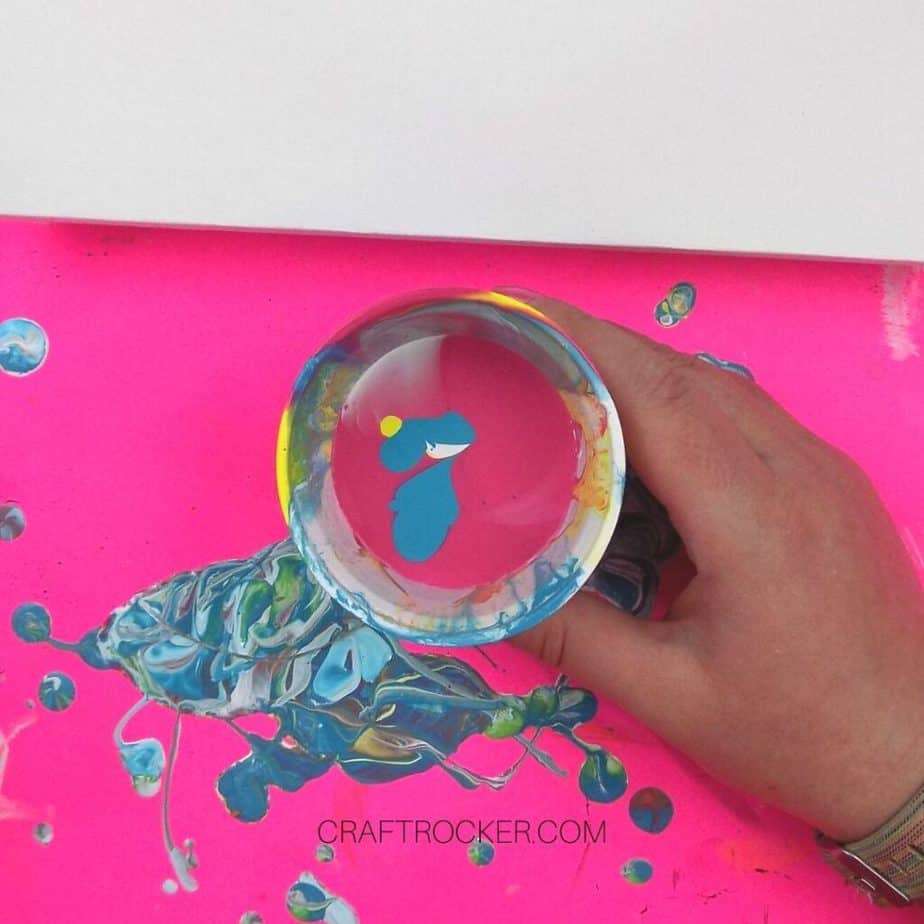
Place your canvas, right-side down, on top of the cup of paint. Make sure the cup is centered on the canvas.
Then hold the canvas and the cup together firmly and flip your canvas over. Next, slowly pull up your cup of paint and allow it to flow out over your canvas.
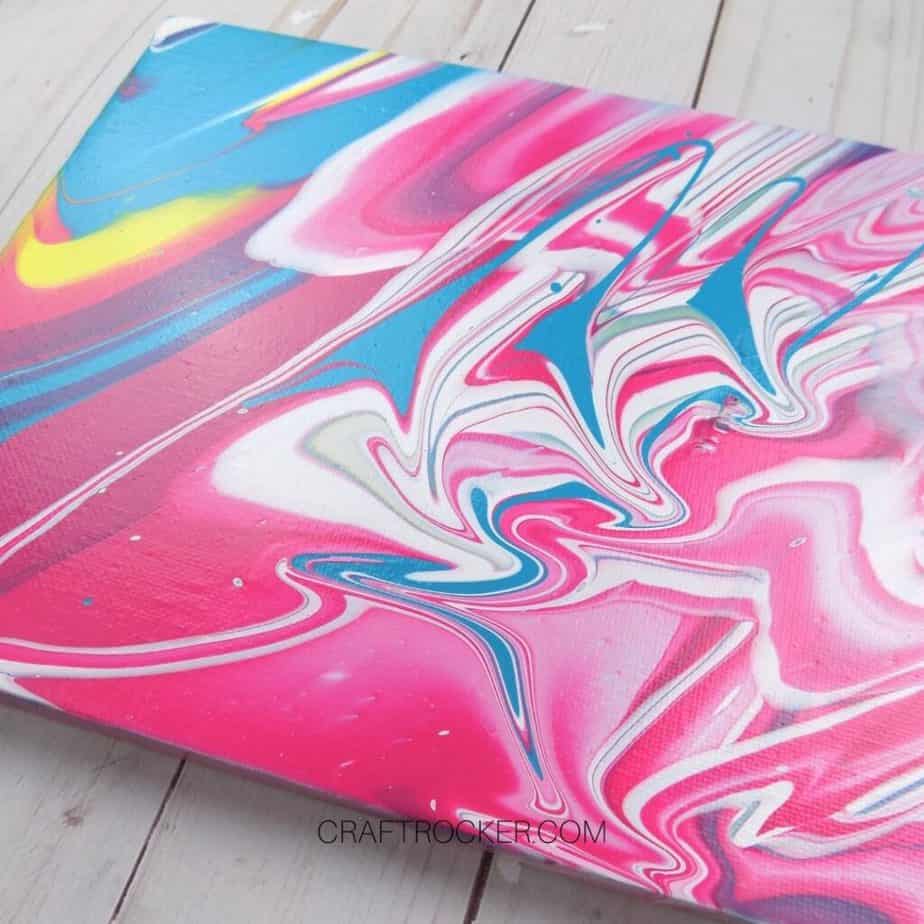
Lastly, tilt your canvas so that the paint flows to cover it completely. Then set it aside to dry completely.

Fluid Art Method 2
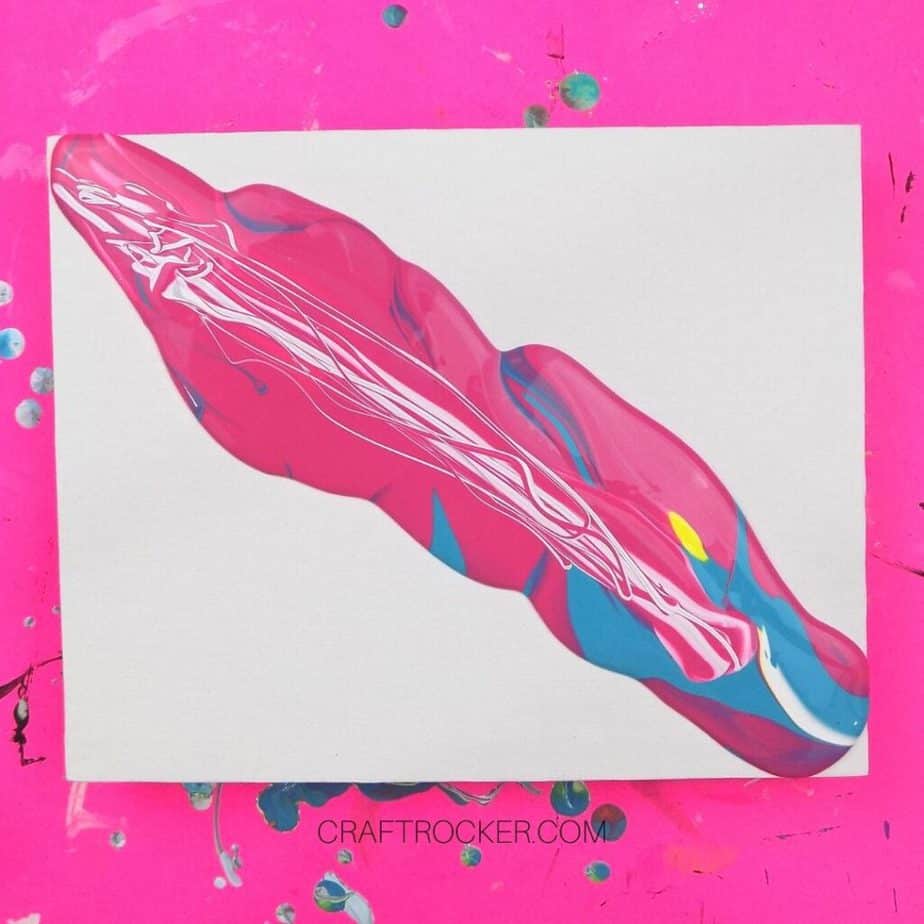
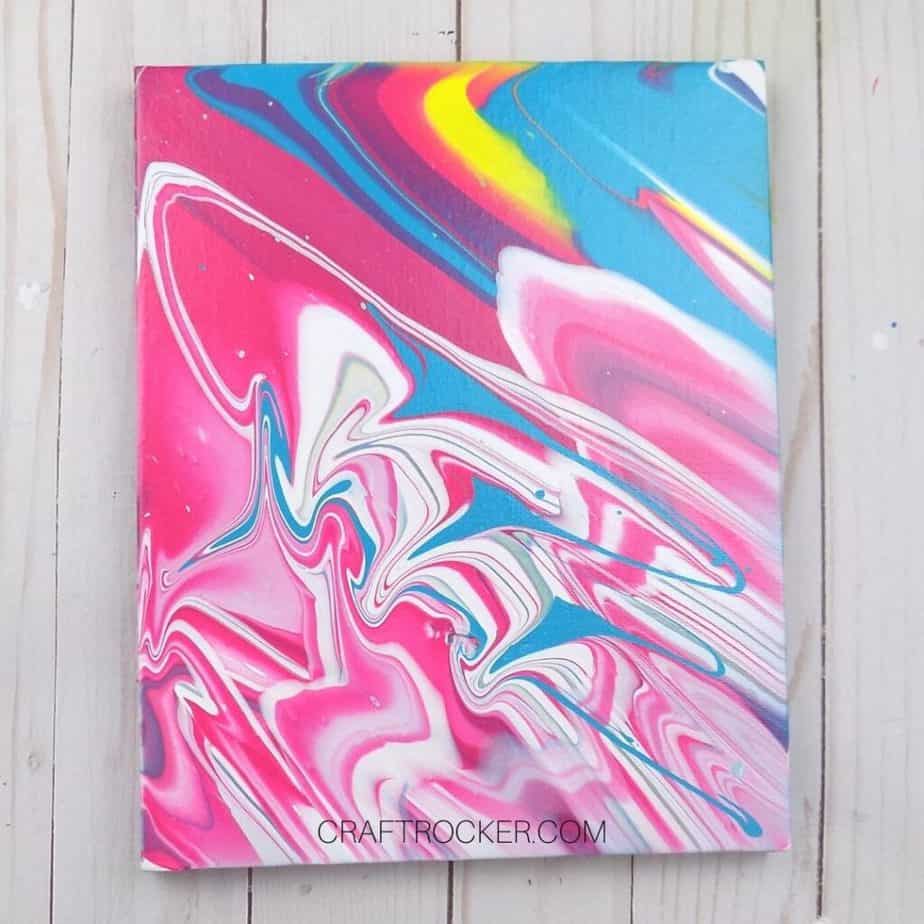
For method 2, pour your paint from one corner of your canvas to the opposite corner across the center.
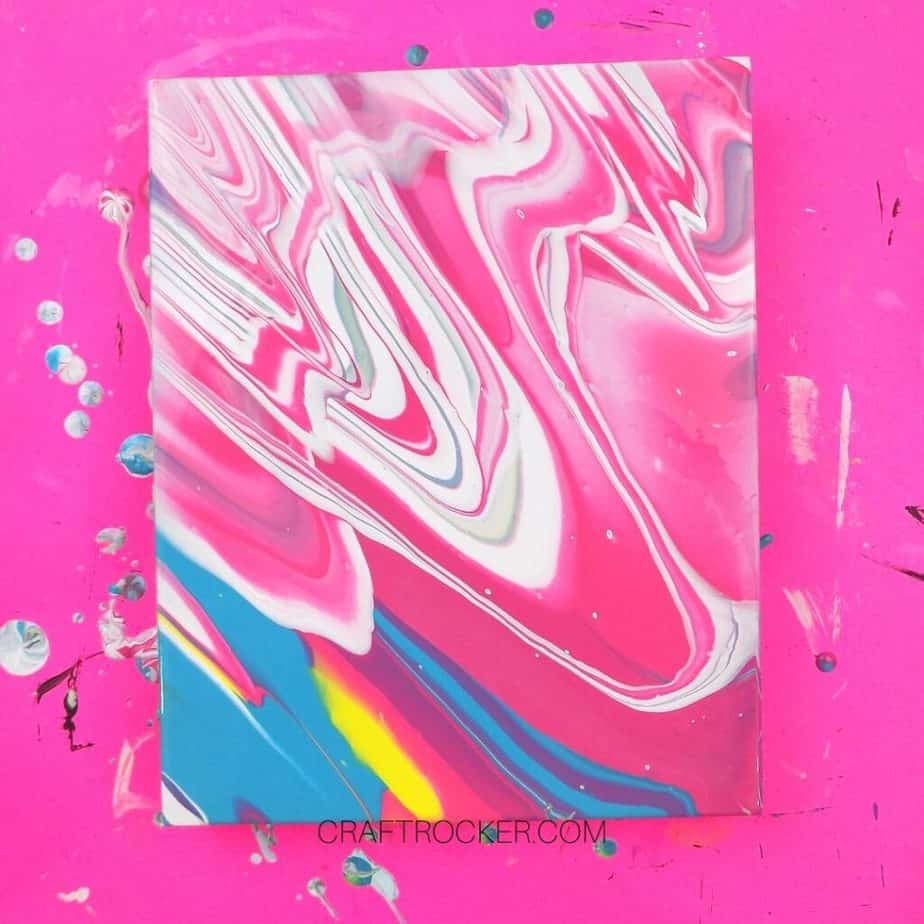
Again, tilt your canvas so that the paint covers the entire canvas. Then set your canvas aside to dry completely before moving on.
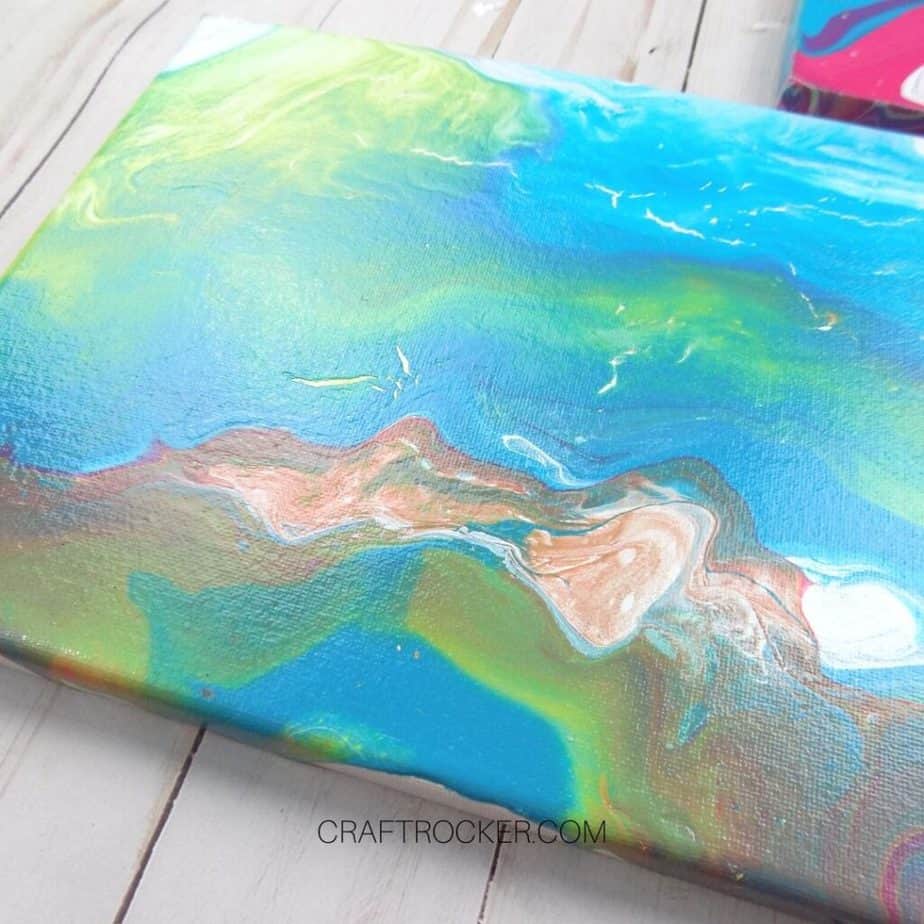
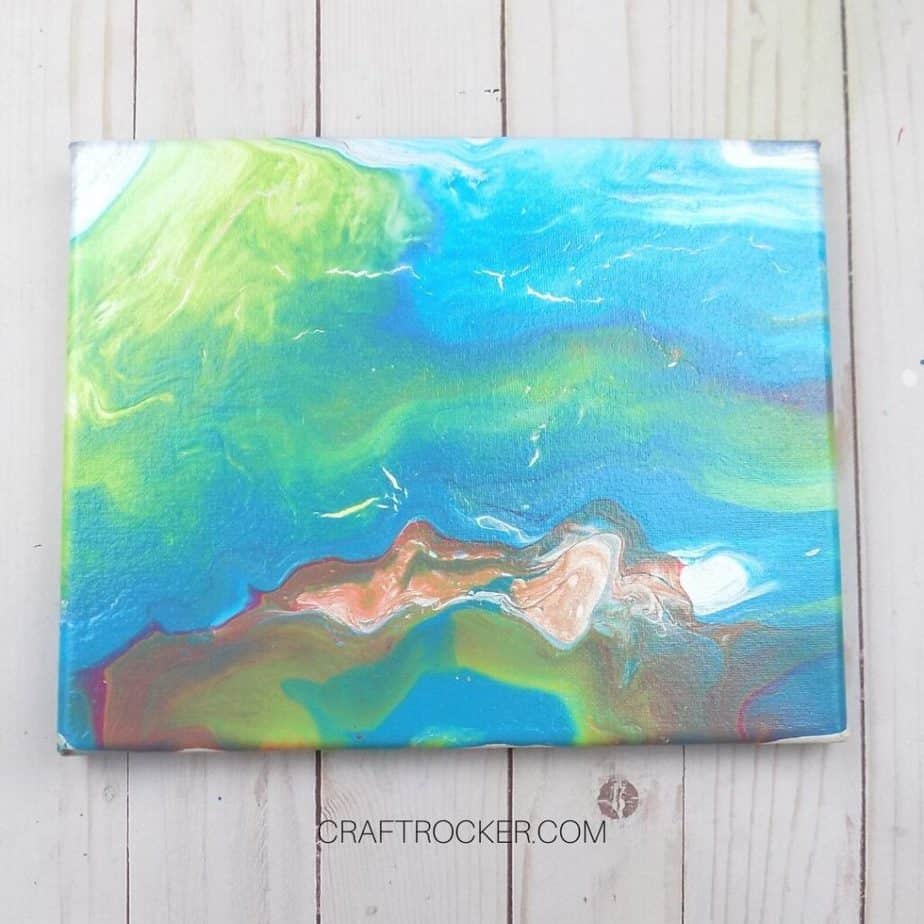
Fluid Art Method 3
A third way to make your acrylic pour art is to pour the paint in your cup corner to corner as you do in method 2.
After the paint is poured, use a hair dryer to blow the paint around on the canvas until you achieve your desired look. After you finish, set the canvas aside to dry.
Step 3 – Seal Your Acrylic Pour Art
Once your paint is completely dry, seal your canvases with a coat of spray acrylic sealant.
Again, set it aside to dry completely.
Step 4 – Remove Pins and Hang
Lastly, remove your push pins from the back of your sealed canvases. Then hang where desired.
Tips and Tricks
Be sure to gently shake your paint bottles before using the paint.
If you are using a larger canvas than I did, you will need to add more paint to your cup than specified in the tutorial before pouring.
This paint takes a long time to dry. I left each canvas for 24 hours to dry. Depending on how thick the paint is and the humidity in your workspace it may take more time.
Printable Acrylic Pour Art Canvas Tutorial
Acrylic Pour Art Canvas
Materials
- Stretched Canvases
- DecoArt Fluid Art Ready-to-Pour Acrylic (fuchsia, tropical blue, lemon, and white)
- Push Pins
- Small Plastic Cup
- Spray Acrylic Sealant
Instructions
- Before you get started, prep your canvases for the acrylic pour art. Remove any packaging from the canvases.
- Then add push pins to each corner on the back of the stretched canvas. This keeps it off of your work surface to prevent sticking but also to allow the paint to flow freely down the sides of the canvas.
- After your canvases are prepped, fill your cup halfway with your paint, alternating between colors. I started with white and then continued adding a small amount of each color, alternating until the cup was halfway full.
- Once your cup is halfway full of paint, pour it onto your canvas. I used 2 different methods but included 3 methods below.
- Fluid Art Method 1
- Place your canvas, right-side down, on top of the cup of paint. Make sure the cup is centered on the canvas.
- Then hold the canvas and the cup together firmly and flip your canvas over. Next, slowly pull up your cup of paint and allow it to flow out over your canvas.
- Lastly, tilt your canvas so that the paint flows to cover it completely. Then set it aside to dry completely.
- Fluid Art Method 2
- For method 2, pour your paint from one corner of your canvas to the opposite corner across the center.
- Again, tilt your canvas so that the paint covers the entire canvas. Then set your canvas aside to dry completely before moving on.
- Fluid Art Method 3
- A third way to make your acrylic pour art is to pour the paint in your cup corner to corner as you do in method 2.
- After the paint is poured, use a hair dryer to blow the paint around on the canvas until you achieve your desired look. After you finish, set the canvas aside to dry.
- Once your paint is completely dry, seal your canvases with a coat of spray acrylic sealant.
- Again, set it aside to dry completely.
- Lastly, remove your push pins from the back of your sealed canvases. Then hang where desired.
Notes
- This paint takes a long time to dry. I left each canvas for 24 hours to dry. Depending on how thick the paint is and the humidity in your workspace it may take more time.
Seriously, how crazy easy is this acrylic pour art canvas to make? Not to mention, super fun.
Once you know the basics, start experimenting with different colors and styles. I’m totally thinking about adding some gold foiling to these. I’d love to hear your thoughts on that idea in the comments!
Don’t Forget to Pin It!
More Painting Projects to Make
Hot Mess Canvas – What Is It and How to Make One
French Memo Board – DIY Memo Board Idea
How to Make an Amazing Acrylic Paint Pour Cutting Board – Our Crafty Mom

Leave a Reply