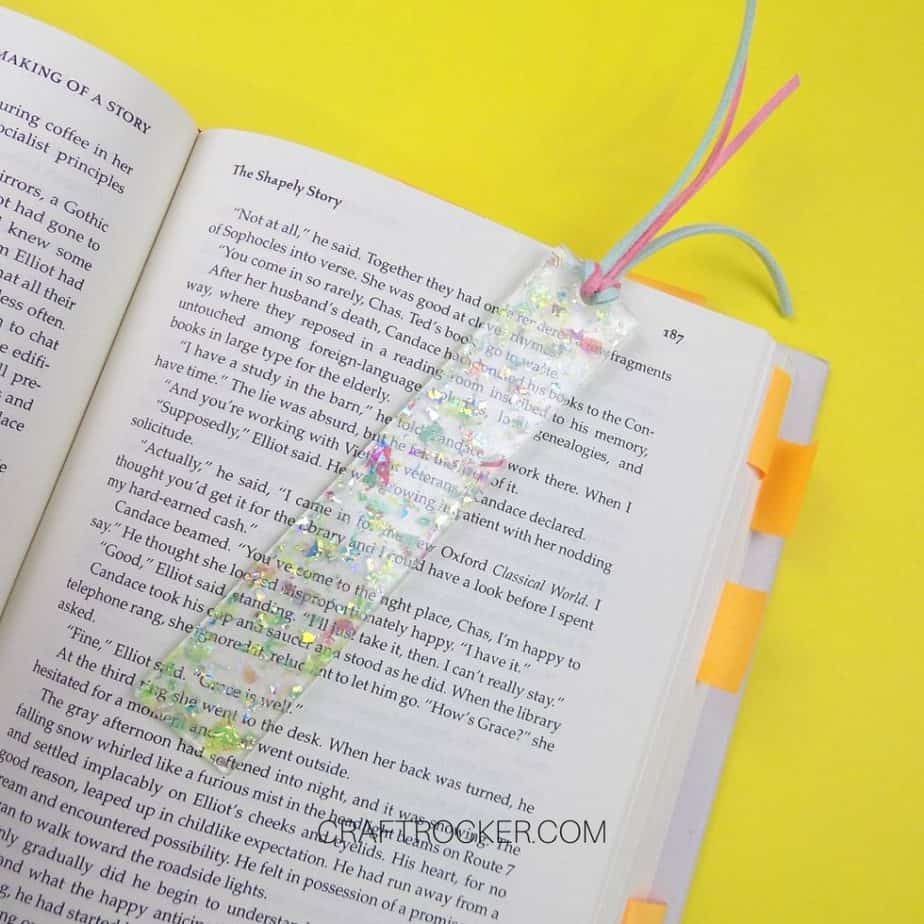
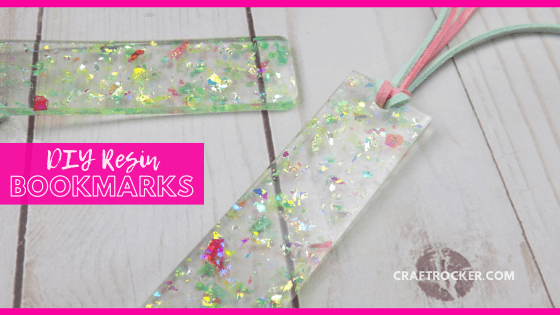
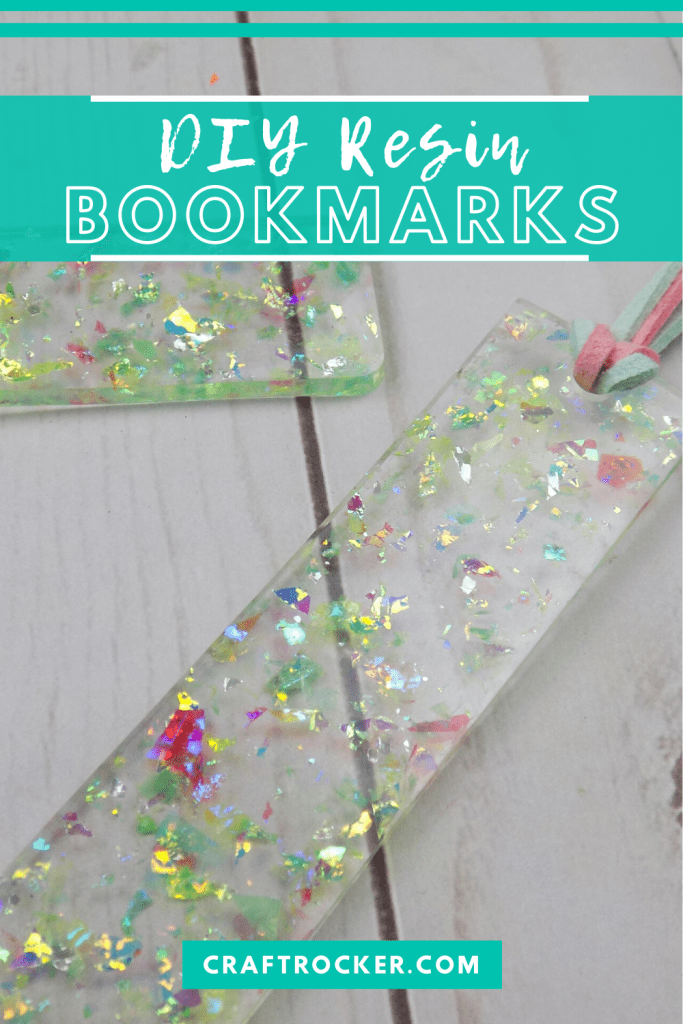
These DIY resin bookmarks are an easy beginner resin craft that every bookworm should try!
Affiliate links may be used in this post. Ordering a product through these links may result in a commission at no extra cost to you. Read the full disclosure here.
Jump to the Tutorial

I honestly think there’s a gnome in my house that eats bookmarks because I can never seem to find one when I need it.
That’s despite knowing I’ve made a ton of them, we always buy more at every school book fair, and the fact that I frequently receive them as gifts. It’s crazy.
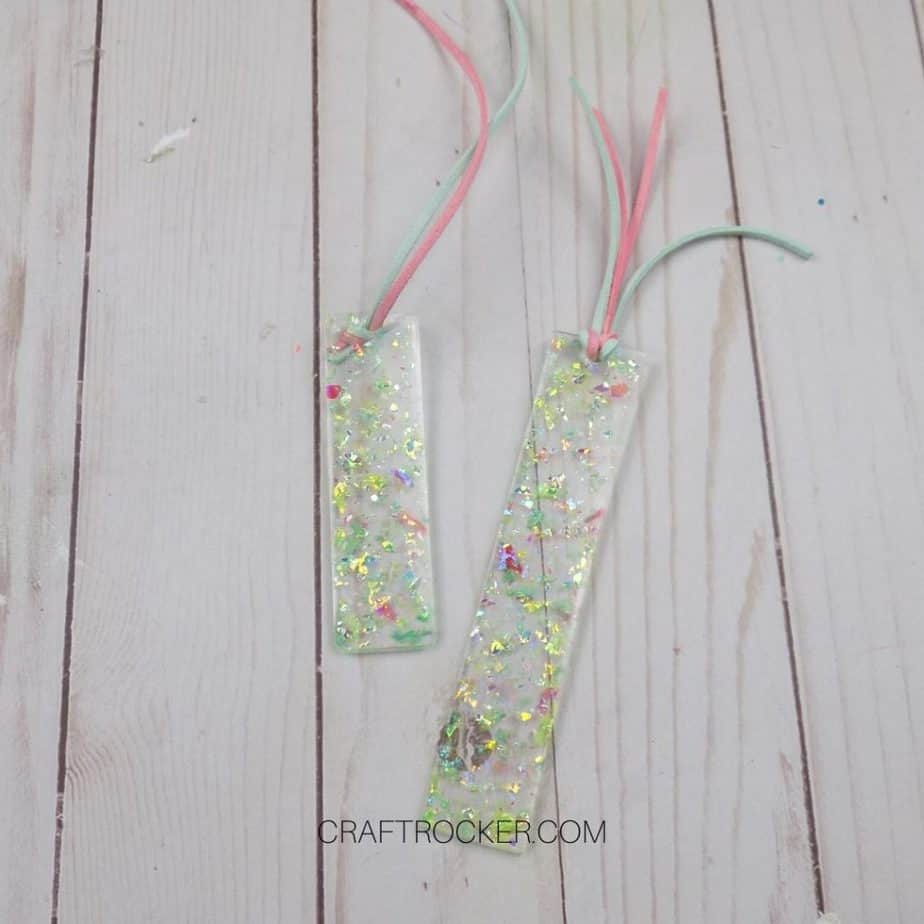
On the plus side, it does give me an excuse to craft more fun ones like these beautiful epoxy bookmarks. Don’t you love the look of the chunky holographic glitter in them? Even better, no need for a special heat tool or anything to create them.
Materials for Resin Bookmarks
Protective Gloves (always wear gloves when working with casting resin)
Tool for Mixing Resin (I use a wooden spoon or craft stick)
Chunky Holographic Glitter
Faux Leather Cording (I used pink and mint)
Scissors
Ruler
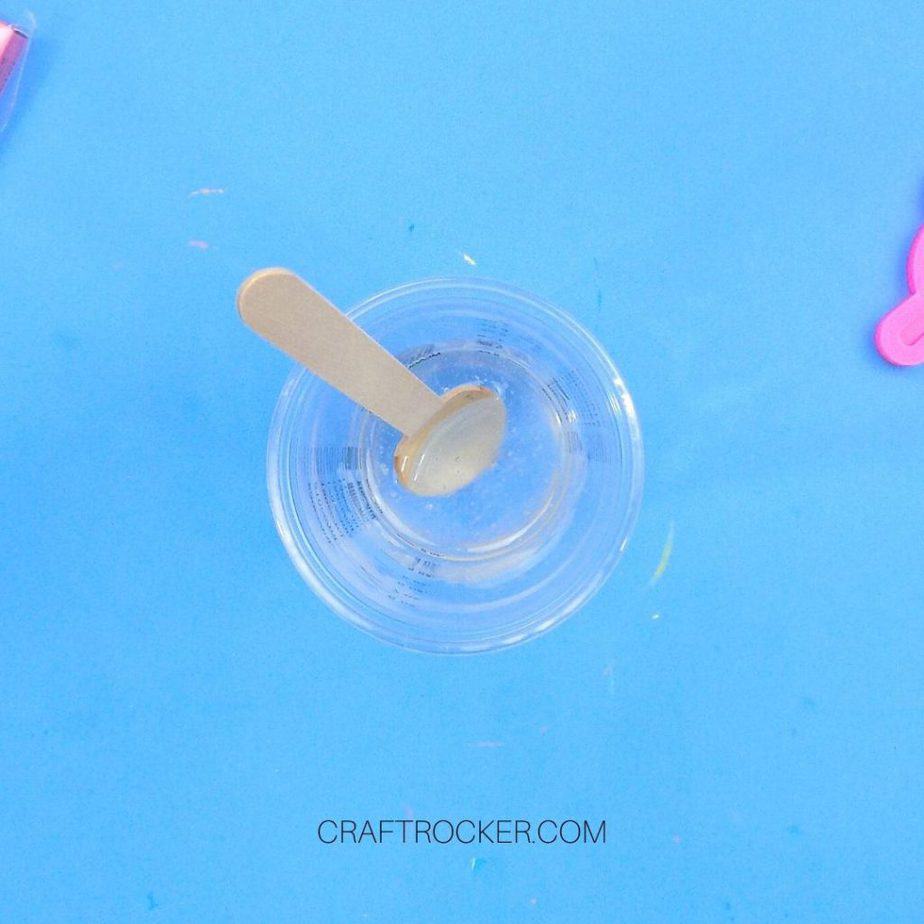
Step 1
First mix 1 ounce of each part of your casting resin in a cut. I recommend using a graduated cup so that you can measure and mix in the same container.
Check out How to Make Resin Keychains if you have excess resin to use up at the end of this craft!
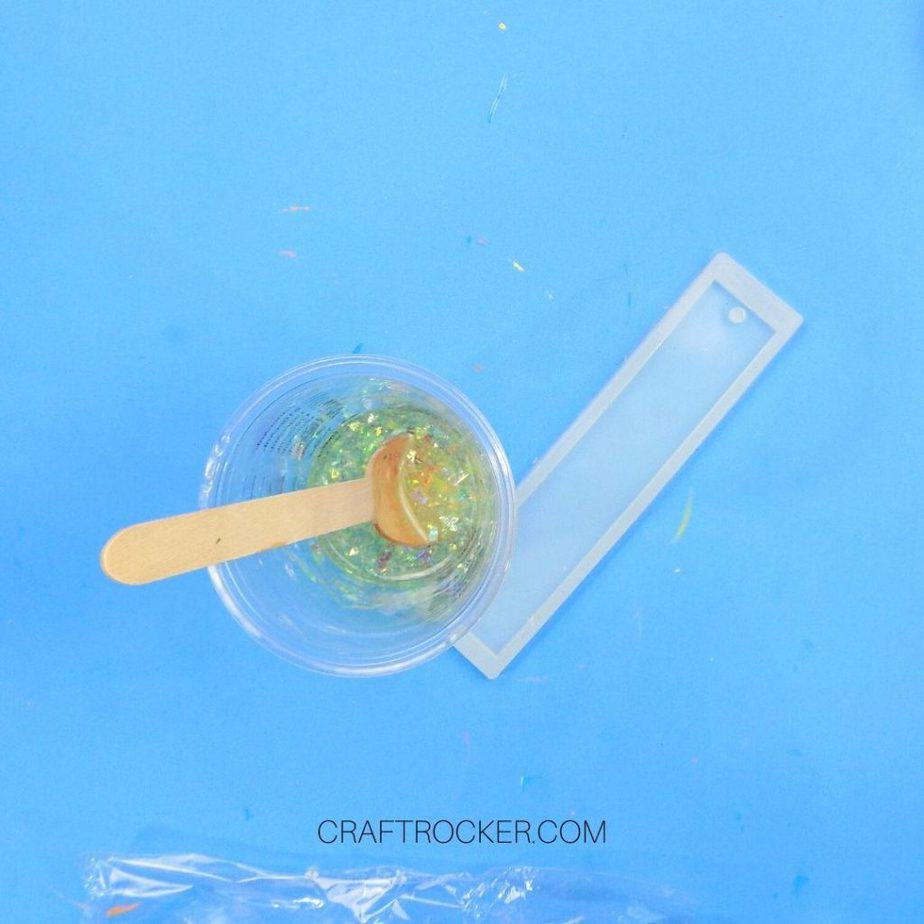
Step 2
Next, mix your holographic glitter into your resin and make sure that it is mixed throughout.
Step 3
Then pour your resin mixture into your bookmark molds. Fill your molds slowly so that you don’t overfill them. In fact, I recommend under-filling them so that you have thinner bookmarks.
Use your pointed resin tool to get the glitter resin into all of the corners and small areas of your mold, especially around where the hole will be.
Step 4
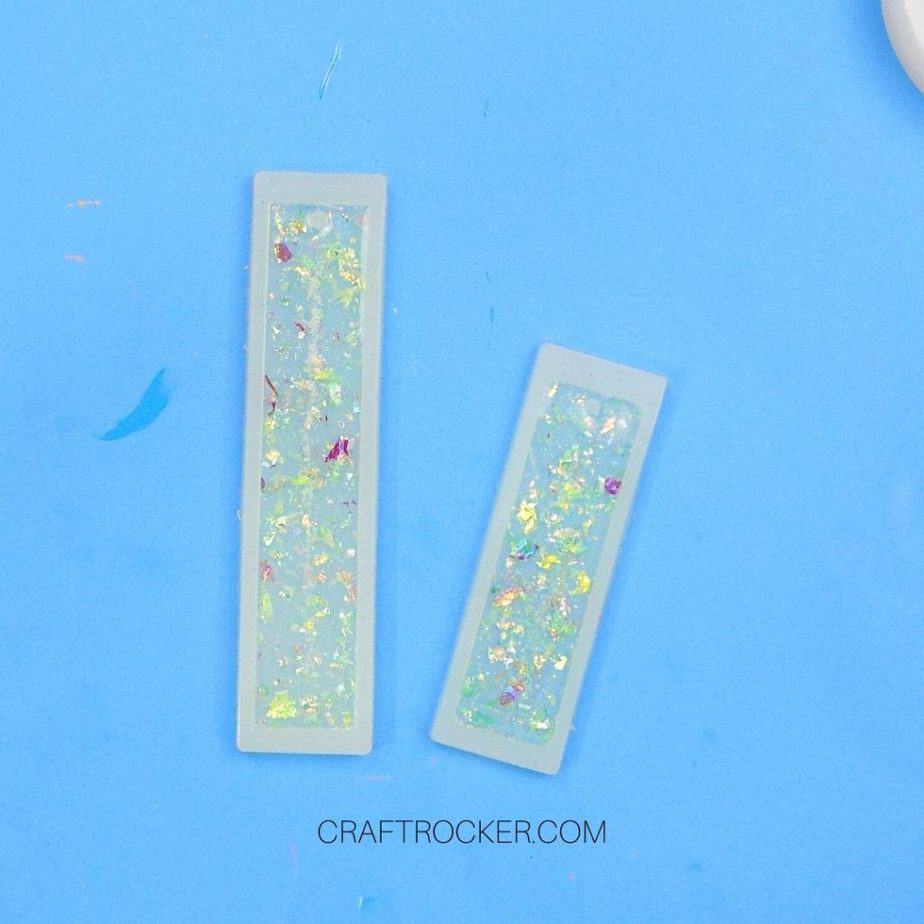
Now set your filled bookmark molds aside in a flat, dry area to cure completely according to your resin package directions. I let mine cure for 24 hours before moving on.

Step 5
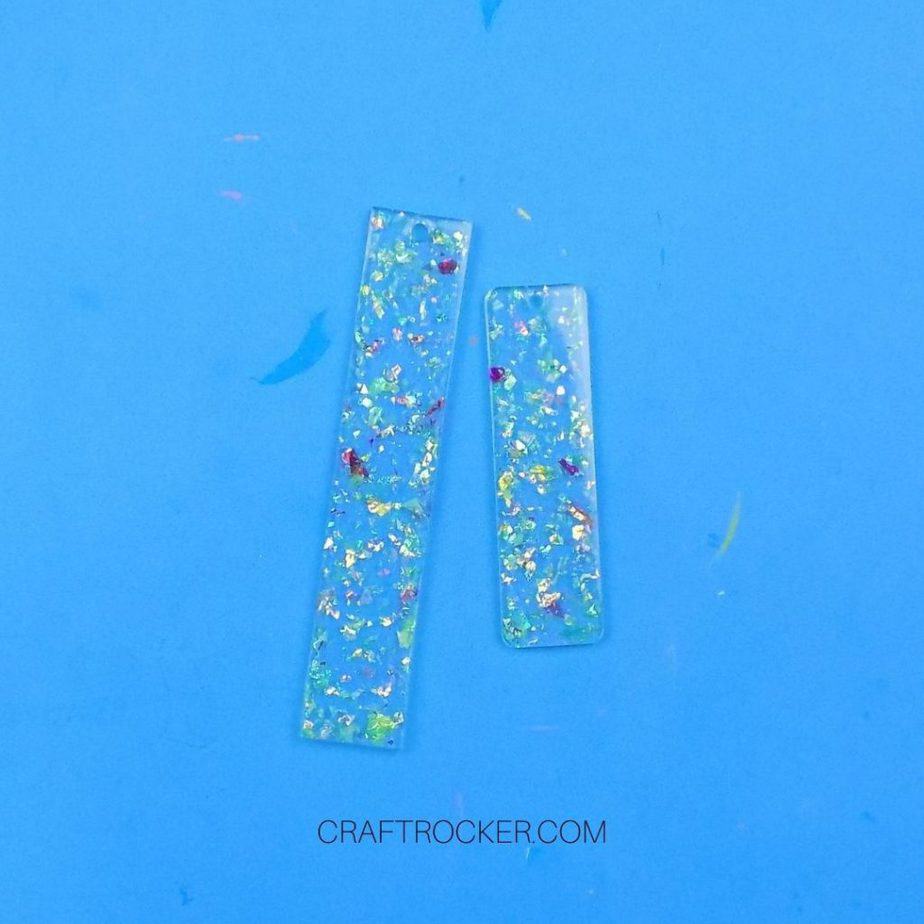
After your bookmarks are cured, remove them from the molds.
Step 6
Next, cut two 17 inch length of cording and then cut those lengths in half. I used 1 of each color.
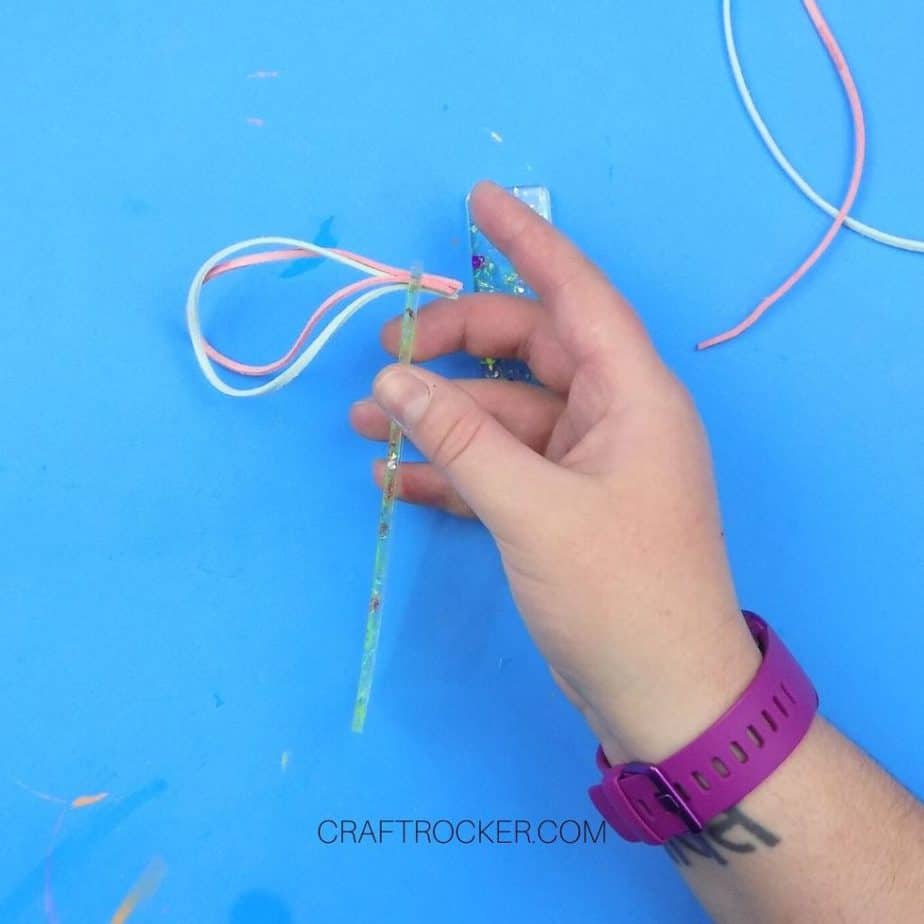
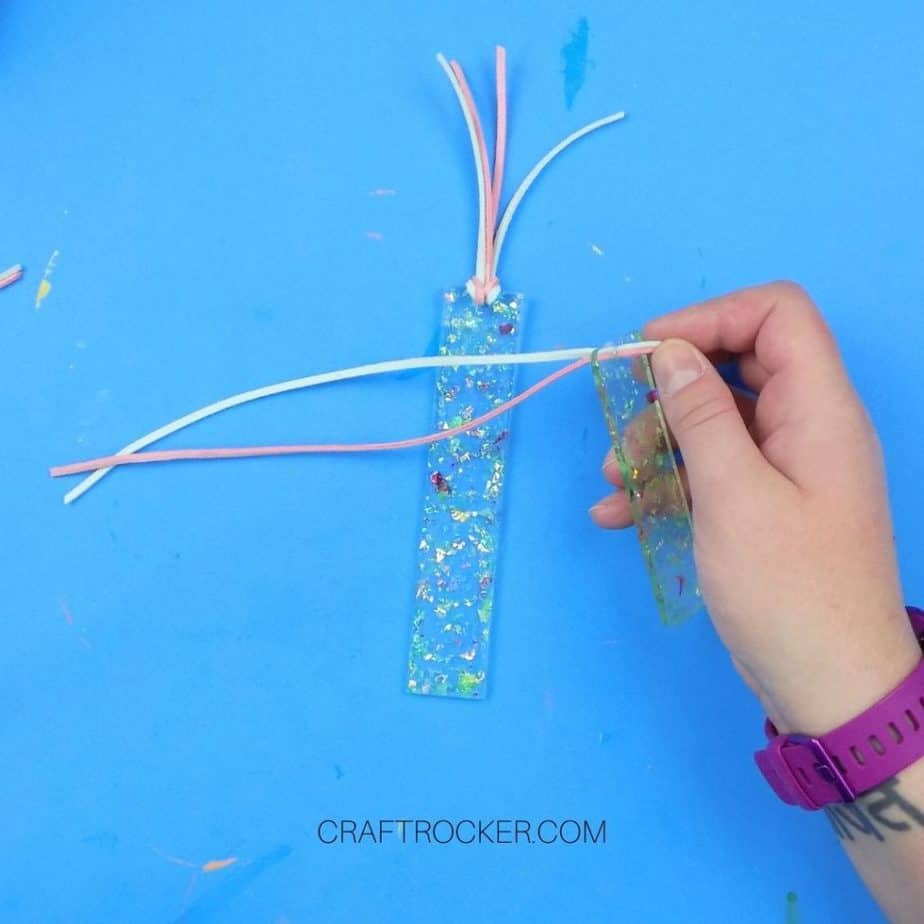
Step 7
Once your cords are cut, take 2 of them and bring all 4 ends together. Then thread them through the hole in your large resin bookmark.
Step 8
Now pull the threaded ends through the double loop until it is tight around the end of your bookmark.
Step 9
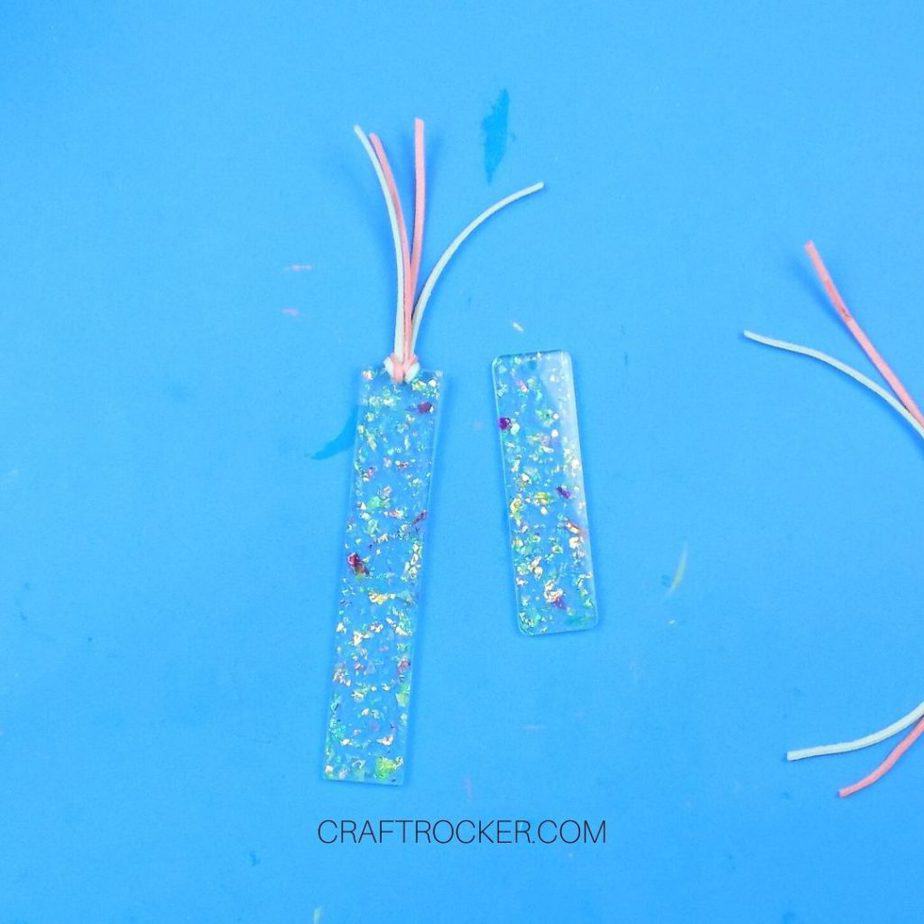
Then take your second 2 cords and thread only the 2 ends through the hole in the small resin bookmark.
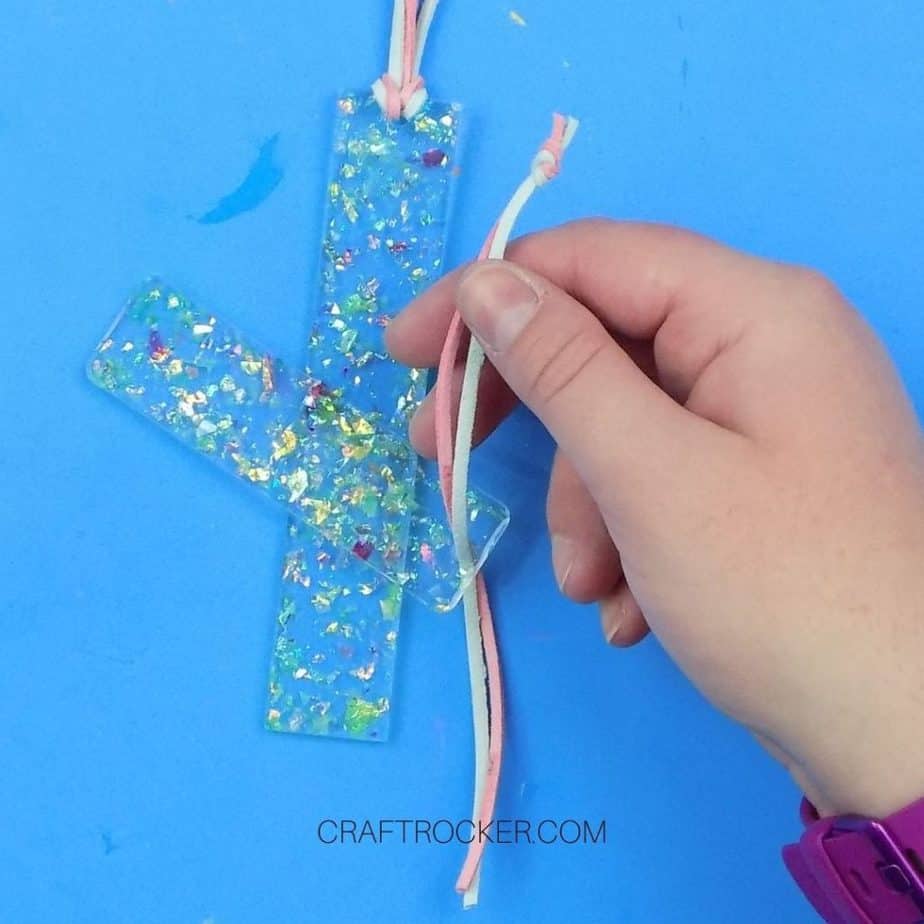
Step 10
Next, tie a knot in the end of the threaded cords. Try to get the knot as close to the end as you can. Trim any excess if necessary.
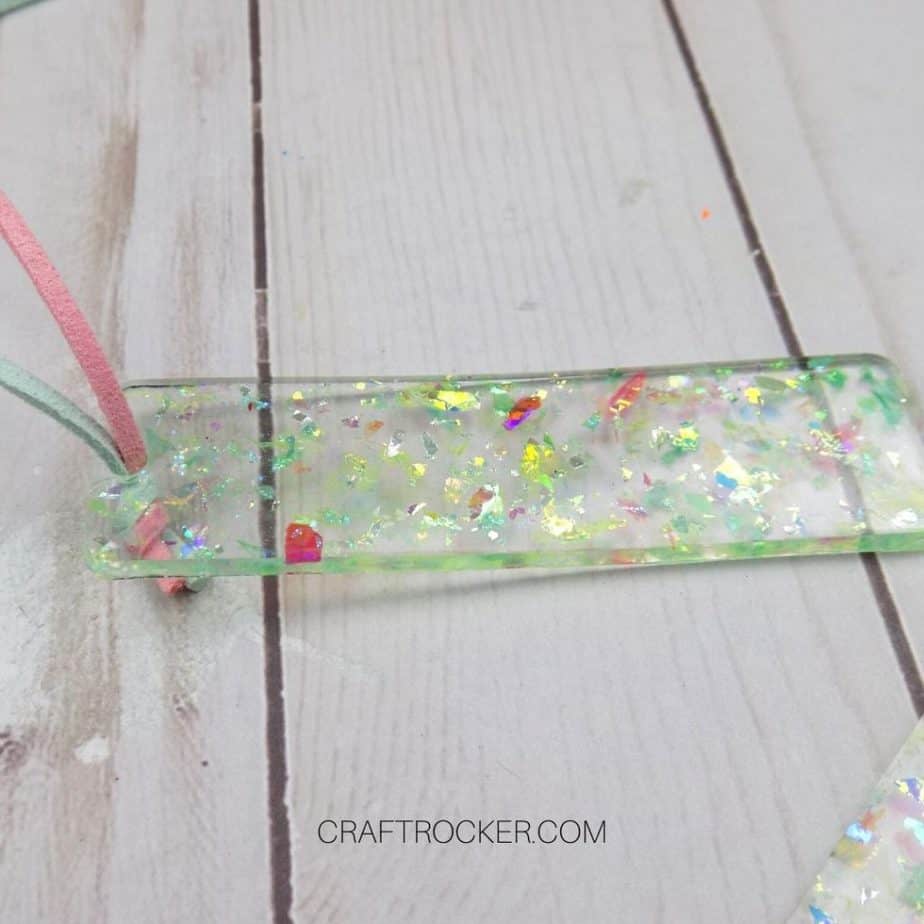
Step 11
Lastly, pull your cords through the hole so that the knot is flush against the hole.
See? That’s how easy it is to make DIY resin bookmarks. Once you make these ones, try out different techniques such as using dyed resin or adding in pressed flowers in lieu of glitter.
You can easily customize them for gifts, party favors, or make a unique collections for yourself.
Don’t Forget to Pin It!
More Awesome Resin Crafts to Try
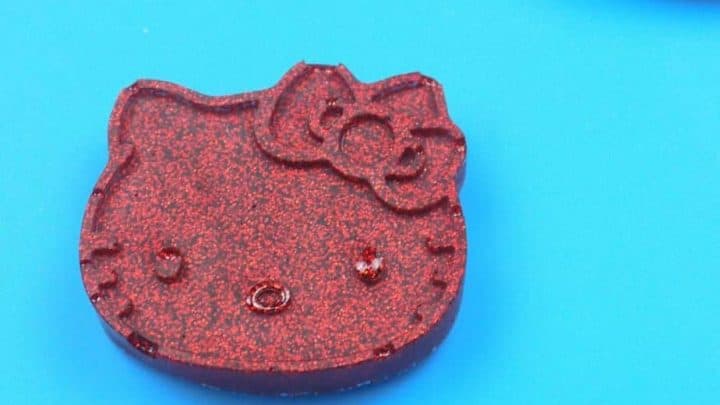
Resin Magnets DIY
Making resin magnets is super easy. All you need is resin, colorant, and a mold to make your shapes. Once…
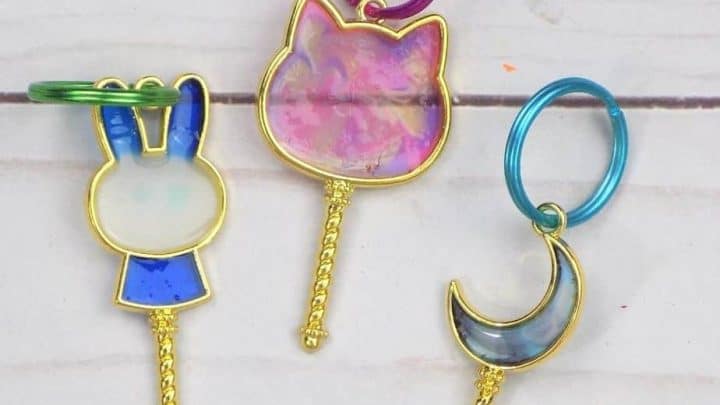
How to Make Resin Keychains
Wondering how to make keychains with resin? I’ve got you covered with 2 tutorials using 2 different types of resin...
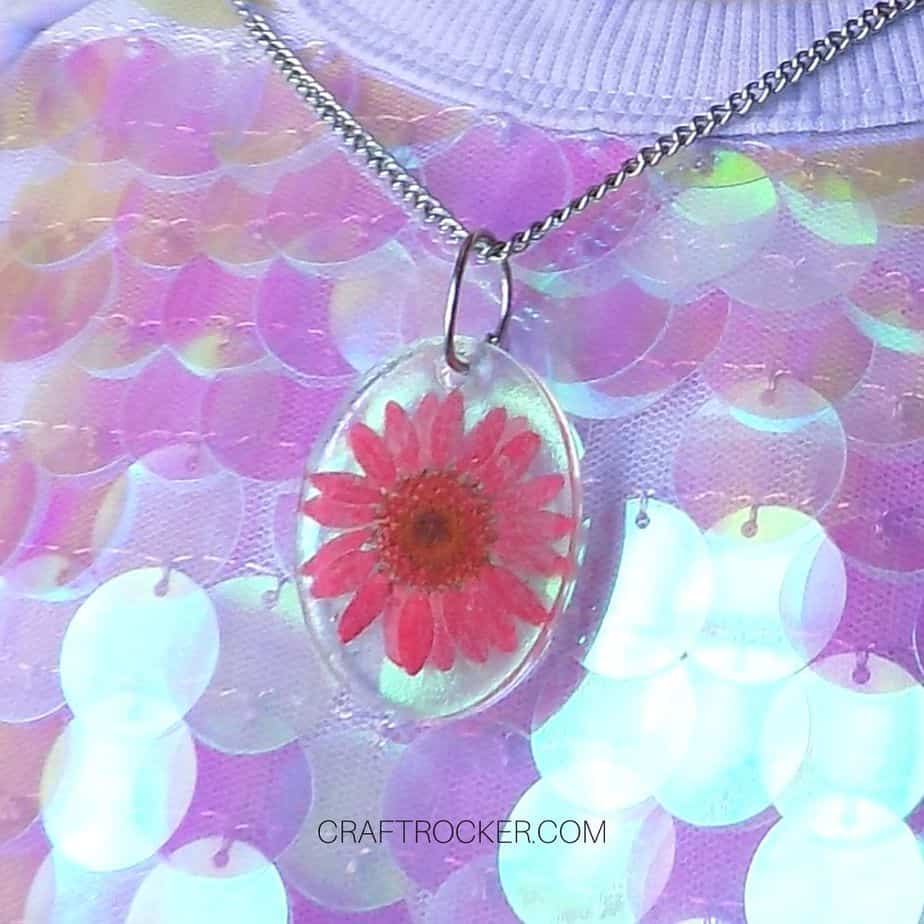
Pressed Flower Resin Pendant
A pressed flower resin pendant is an easy and beautiful accessory to add to your collection...
DIY Resin Wood Slice Table
This DIY epoxy resin table was so much easier to make than I thought it would be...

Leave a Reply