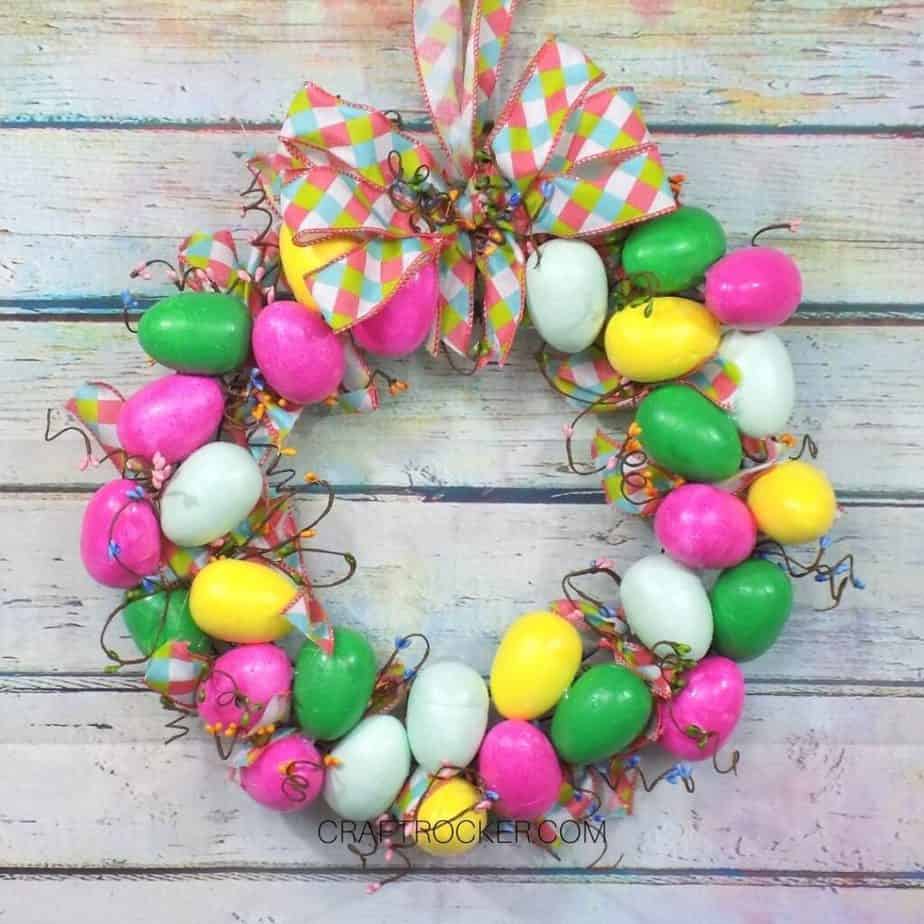
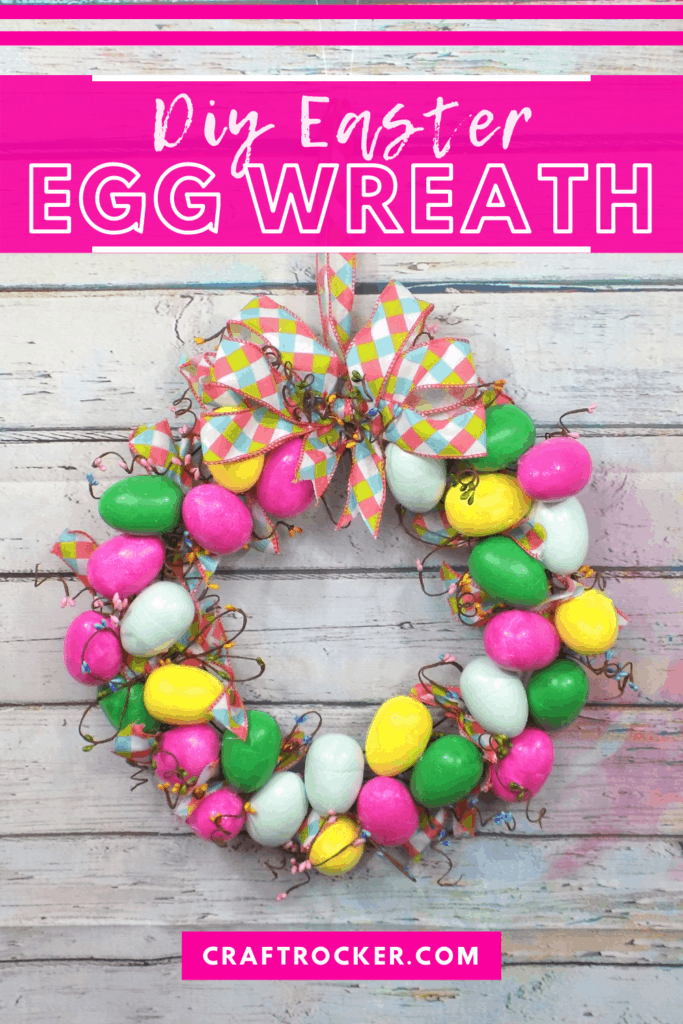
Dress up your door for spring with a DIY Easter egg wreath! It’s exactly what your home needs for a colorful and uplifting piece of holiday décor.
Affiliate links may be used in this post. Ordering a product through these links may result in a commission at no extra cost to you. Read the full disclosure here.
Jump to What You Want
How to Make a DIY Easter Egg Wreath
Printable Easter Egg Wreath Tutorial
I haven’t had any wreaths on my door since Christmas and it’s looking pretty sad. Usually I have something up for every holiday or season but lately it’s been hard to worry about things like that with so many other (more important) things going on.
Please tell me I’m not the only one struggling with all of this right now.
Anyway, I decided I wanted to cheer it up some as well as myself with a fun and festive Easter egg wreath.
Although I had some missteps when initially designing it, the end result is exactly what I had in my head for a fun and bright new wreath!
Easter Egg Wreath Materials
Hot Pink, Green, Yellow, and Pale Teal Paint
Wire Wreath Form (I got mine at Dollar Tree)
Hot Glue Gun and Glue Sticks
Scissors
Pen or Marker (Need for cylindrical form)
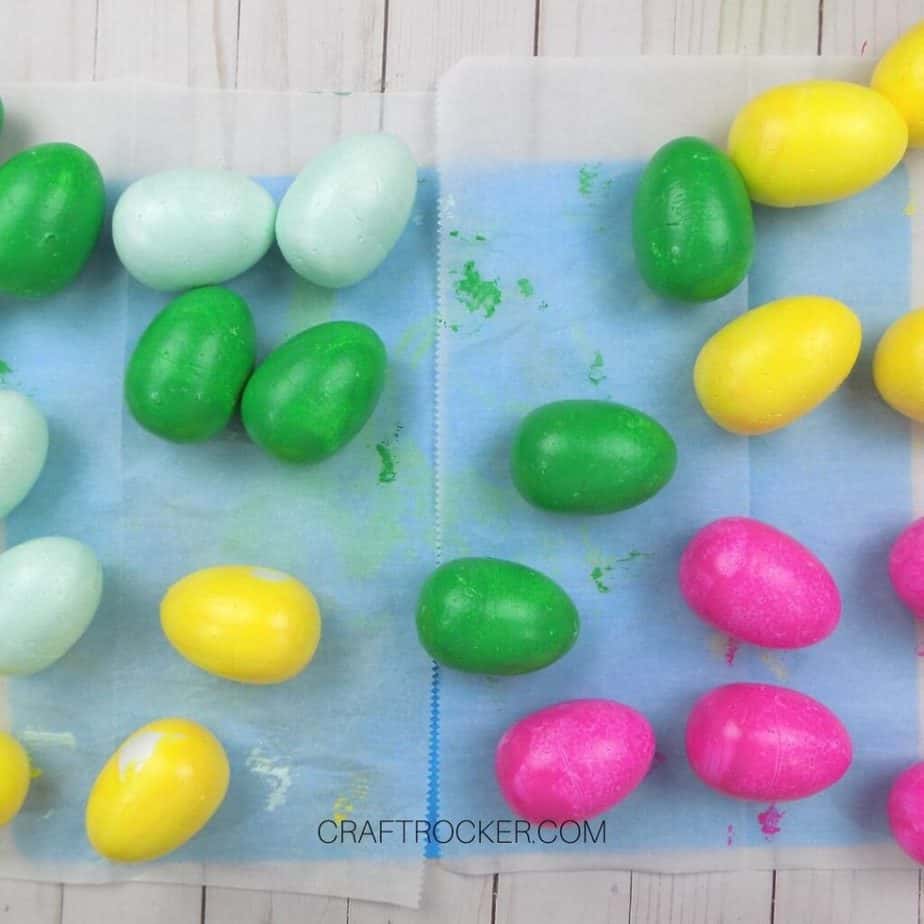
Step 1 – Paint Your Eggs
First, divide your eggs into 4 even groups. Then paint each group in the different paint colors listed in the materials.
Set your eggs aside to dry completely. After they are dry, go back and fill in any spots you missed (such as where you were holding them) and again let them dry before moving on.
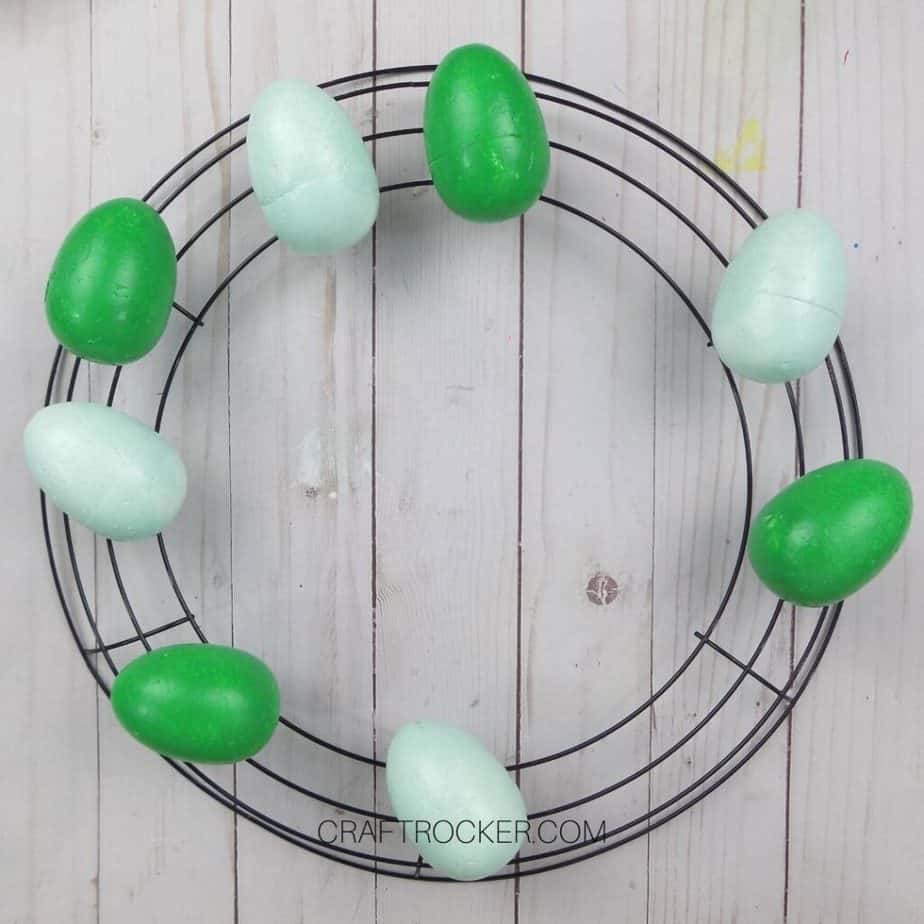
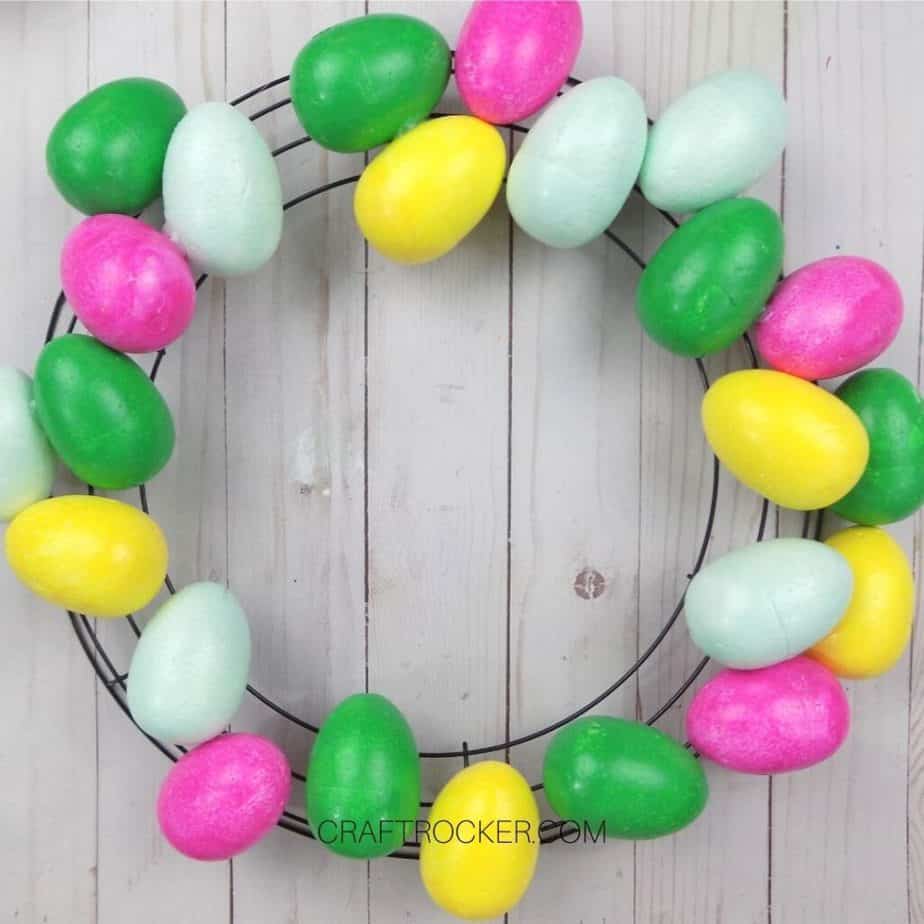
Step 2 – Glue Painted Eggs to Wreath
After your painted eggs are dry, set aside 1/3 of them. Then hot glue the remaining ones to your wreath form.
I did this by starting with one color and attaching all of that color. Then I repeated with the remaining colors until all of them were glued to the wreath form.
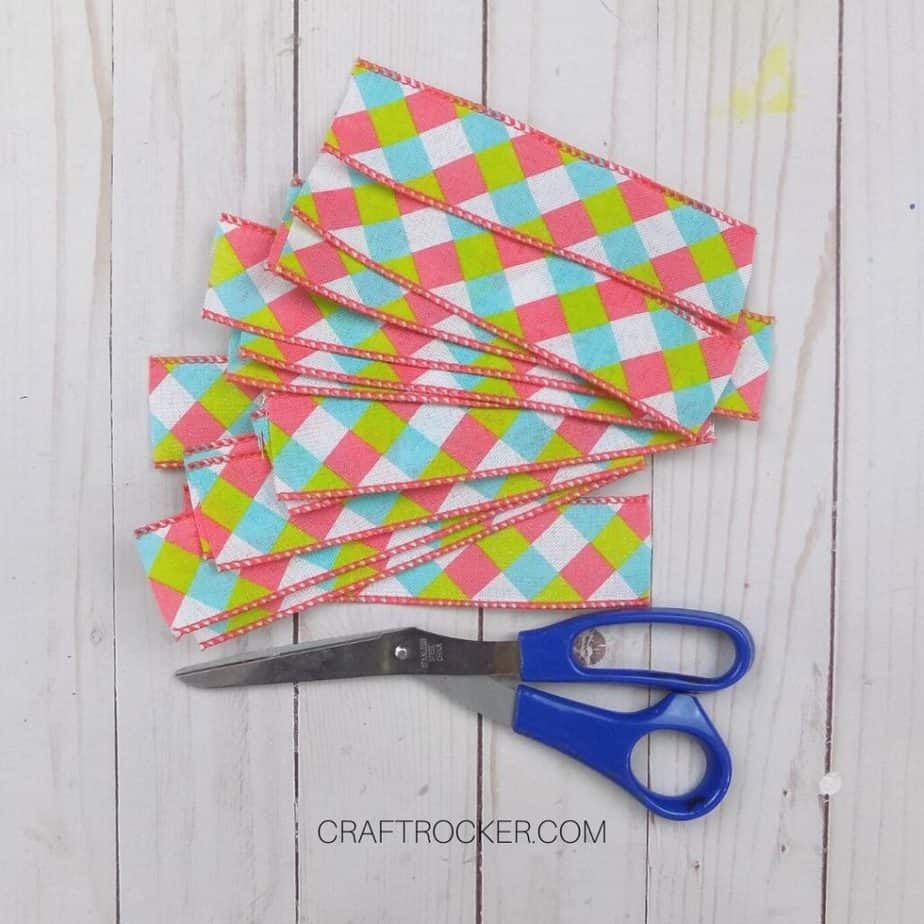
Step 3 – Cut Strips of Ribbon
Next, cut 24-28 strips of ribbon that are 6” long.
Also cut a length of ribbon that is 24” long. This will be the hanger you attach to the wreath.
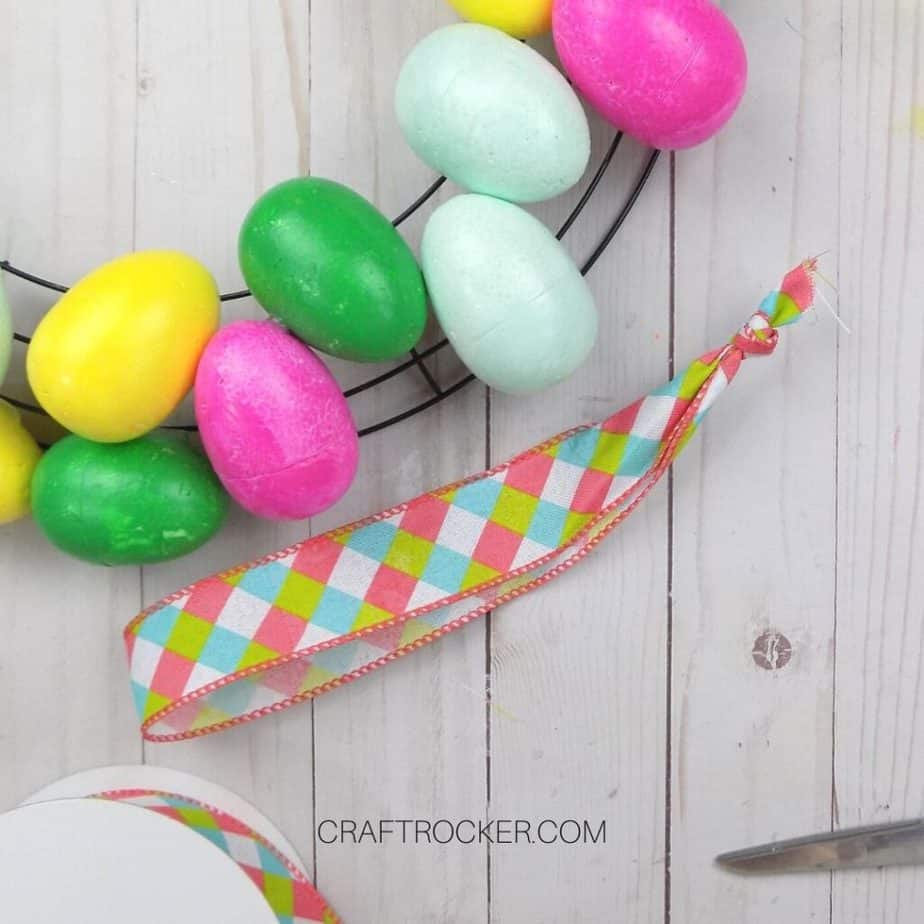
Step 4 – Add Ribbon Hanger
Now take the 36 inch long ribbon and knot the 2 loose ends together. Try to keep your knot as close to the bottom of the ends as possible.
Then thread your tied ribbon through the edge of your wreath form and loop the end opposite the knot back through.
Position it so that the knot is at the wreath frame end. Then add a small amount of hot glue to either side of the ribbon on the wreath form.

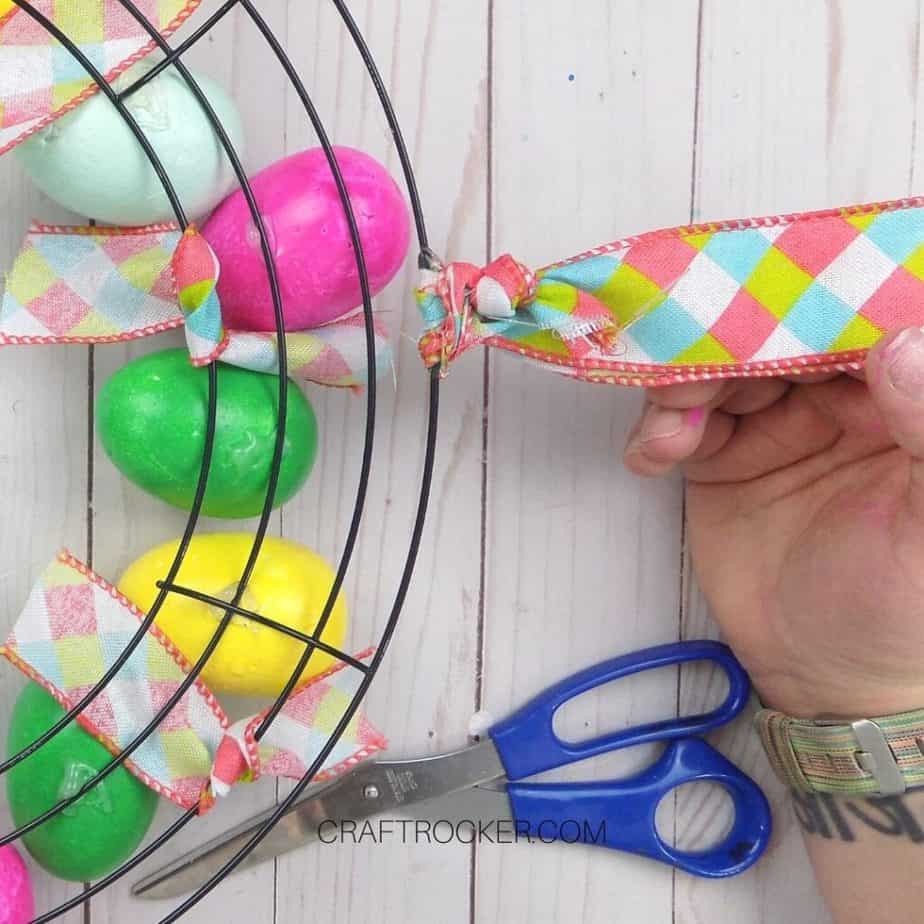
Step 5 – Tie Ribbons to Wreath
Once your ribbon hanger is attached, attach the 6 inch strips of ribbon to your wreath form by sliding the ribbon through and twisting it once.
Then add a dollop of hot glue to the twist and twist them again. You want to twist them instead of tie them because this way the right sides of the ribbon (the patterned side) are facing forward.
Continue to fill out your wreath with all of the strips of ribbon. Some eggs will come off during this step (I had 3 come off). Don’t worry about that because you will add them back later.
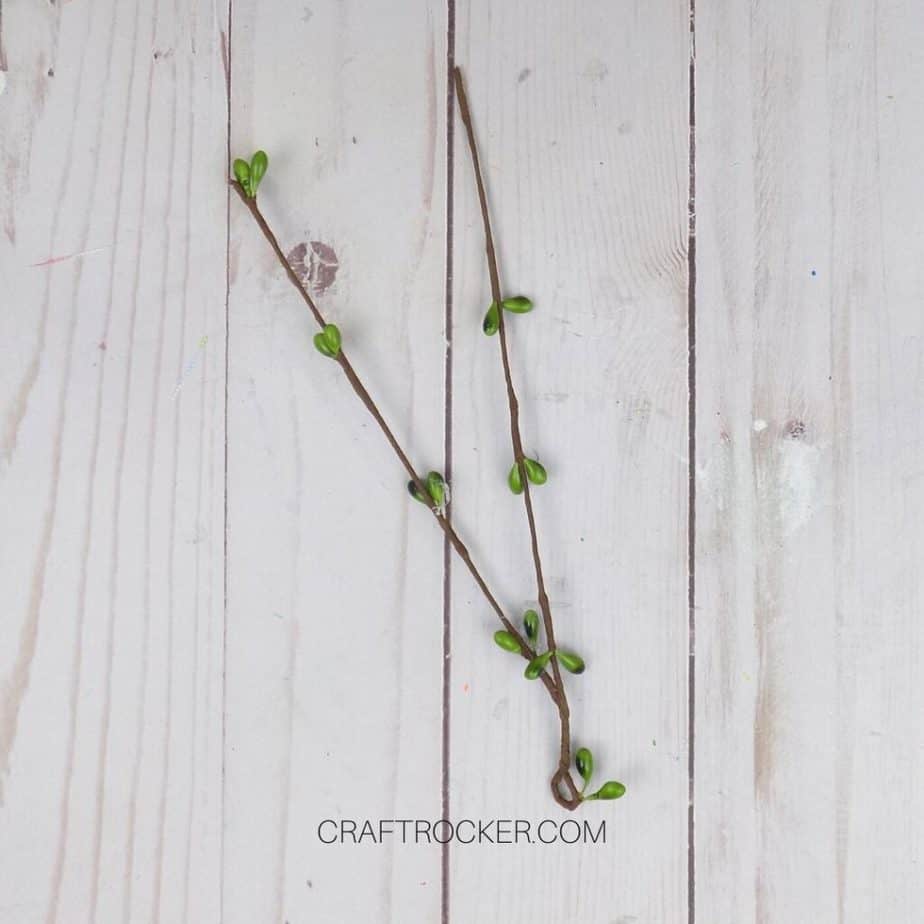
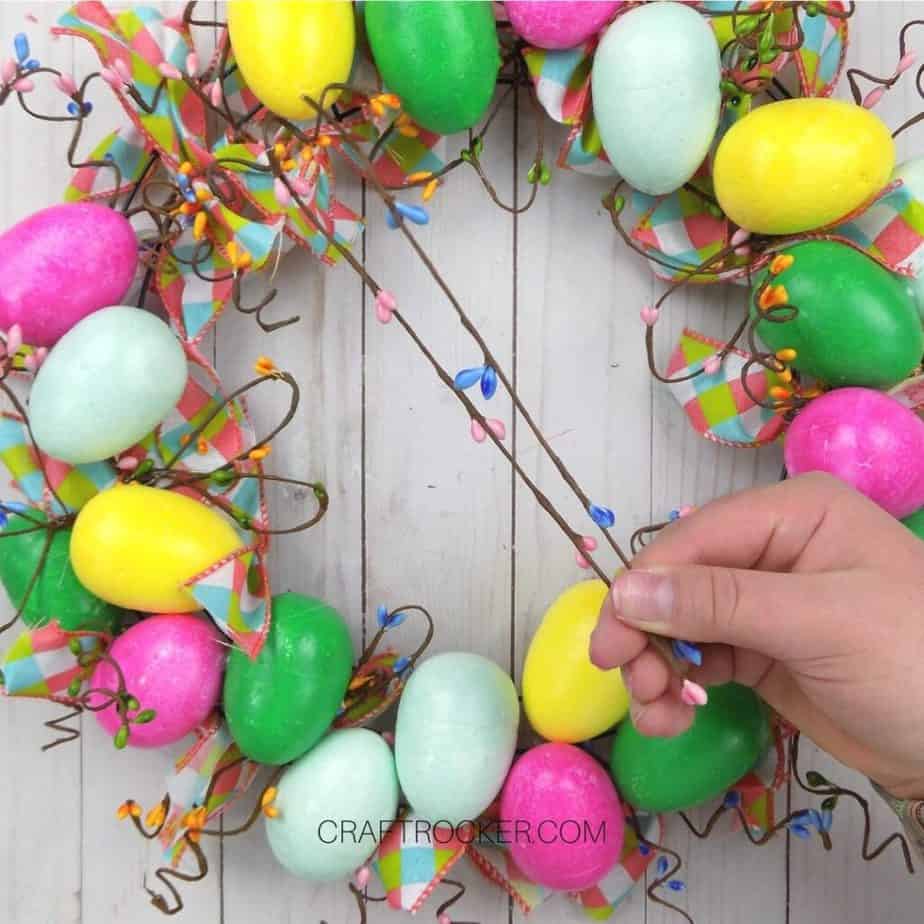
Step 6 – Prepare Floral Sprigs
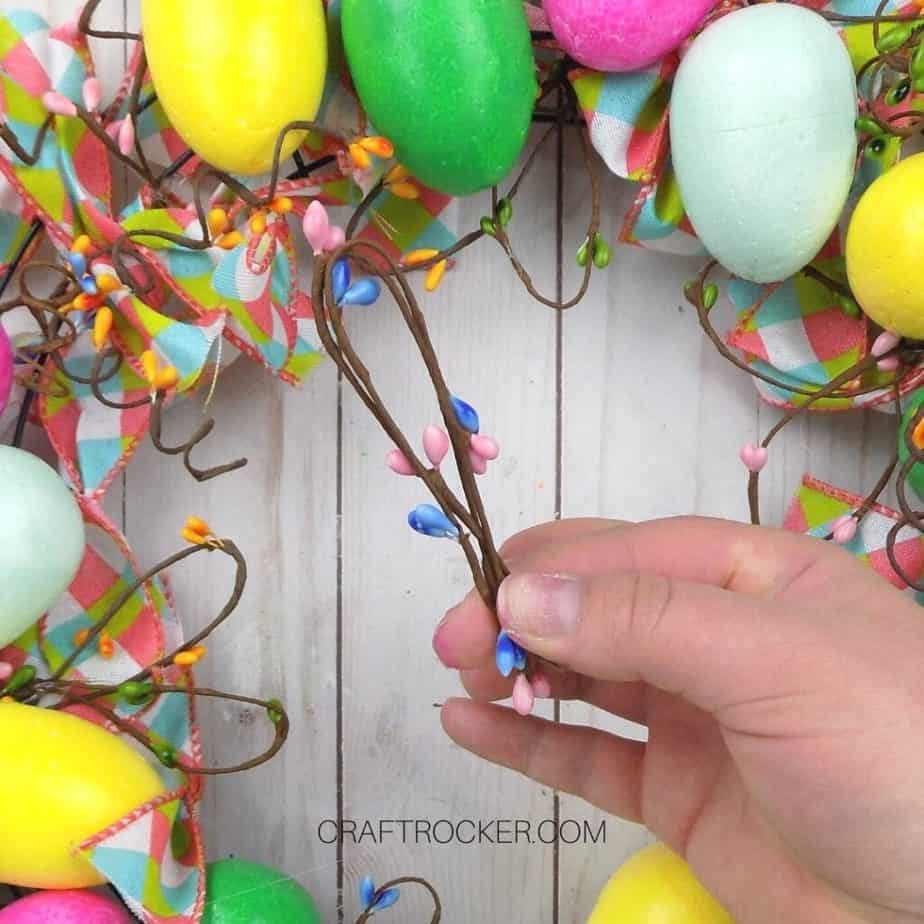
After your ribbons are attached to your wreath, prepare your floral sprigs by taking about 14 of them (in different colors) and folding them in half.
Then twist the folded edge together to give your hot glue something to grip to later.

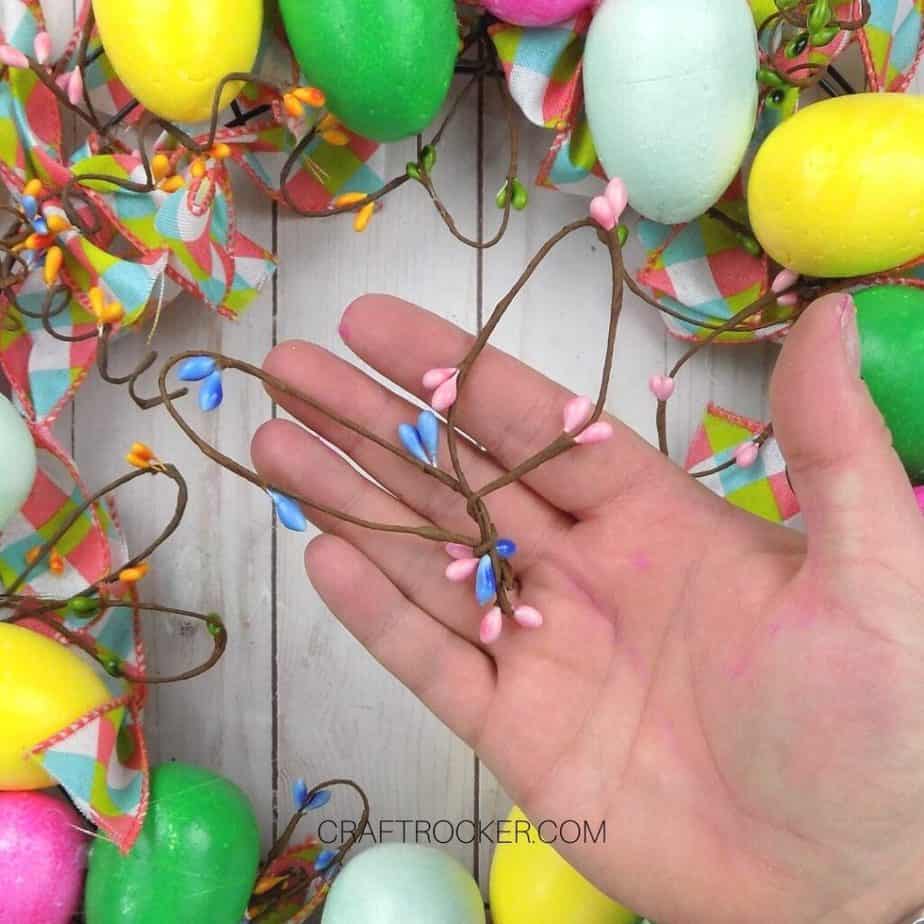
Take another 3-4 of your floral sprigs and cut them in half. Then hold 2 at a time and loop them in half. This time twist the loose ends together and then fluff out the looped ends to look like bunny ears.
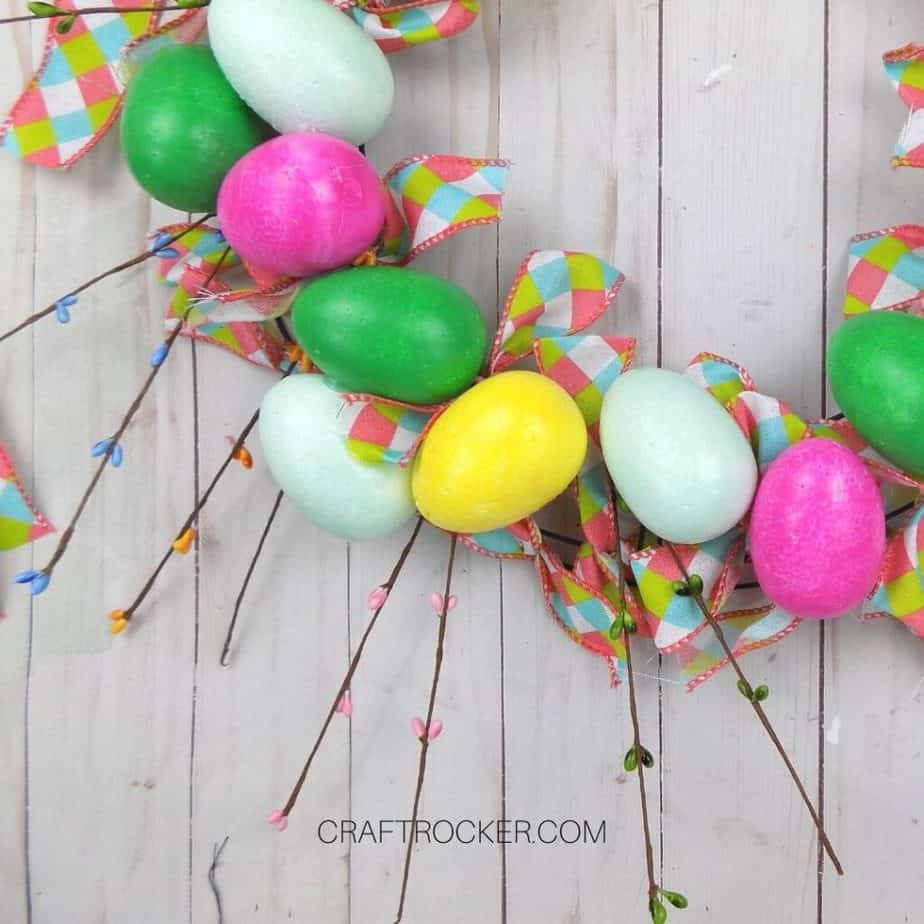
Step 7 – Glue Floral Sprigs to Your Wreath
Once all of your sprigs are prepared, hot glue them to your wreath in between the eggs and ribbons.
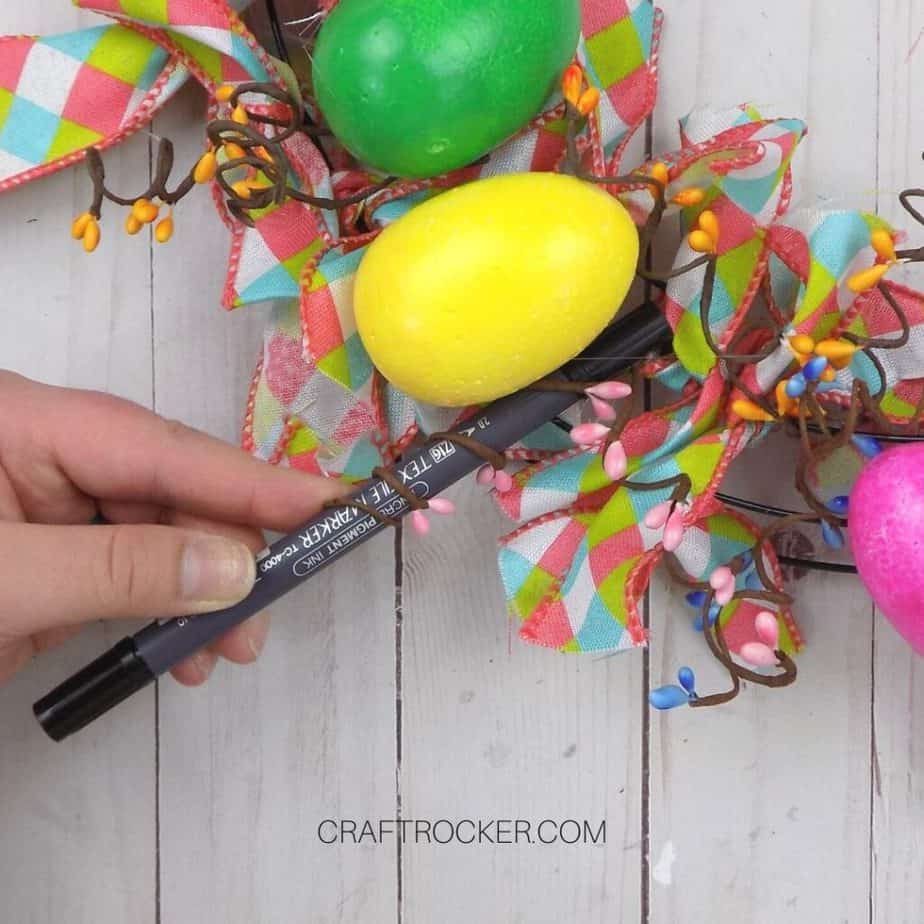
After all of them are attached, go back and add curl to long sprigs by wrapping them around a pen or marker like a spring. Then gently slide the writing utensil out.
Step 8 – Make a Big Bow
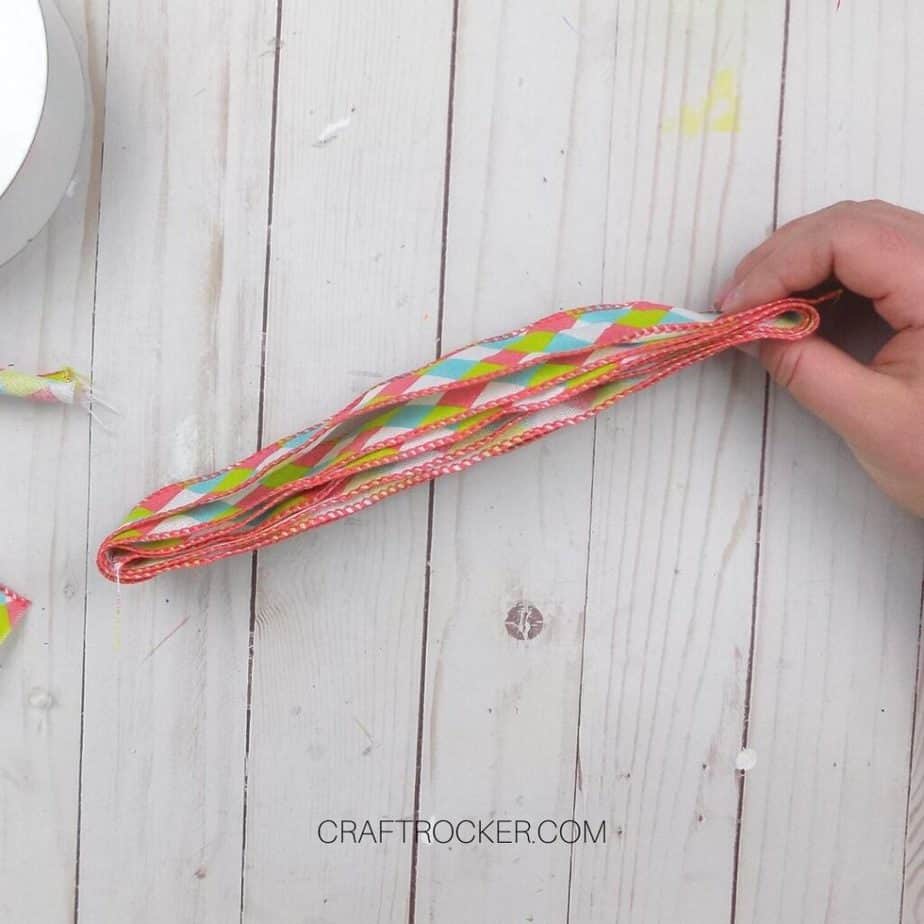
Now cut another length of ribbon that is roughly 48 inches long. Repeated wrap it around itself so that the end result is a stack of ribbon that is roughly 8 inches long.
Add 3-4 of your floral sprig halves to the top of the stack.
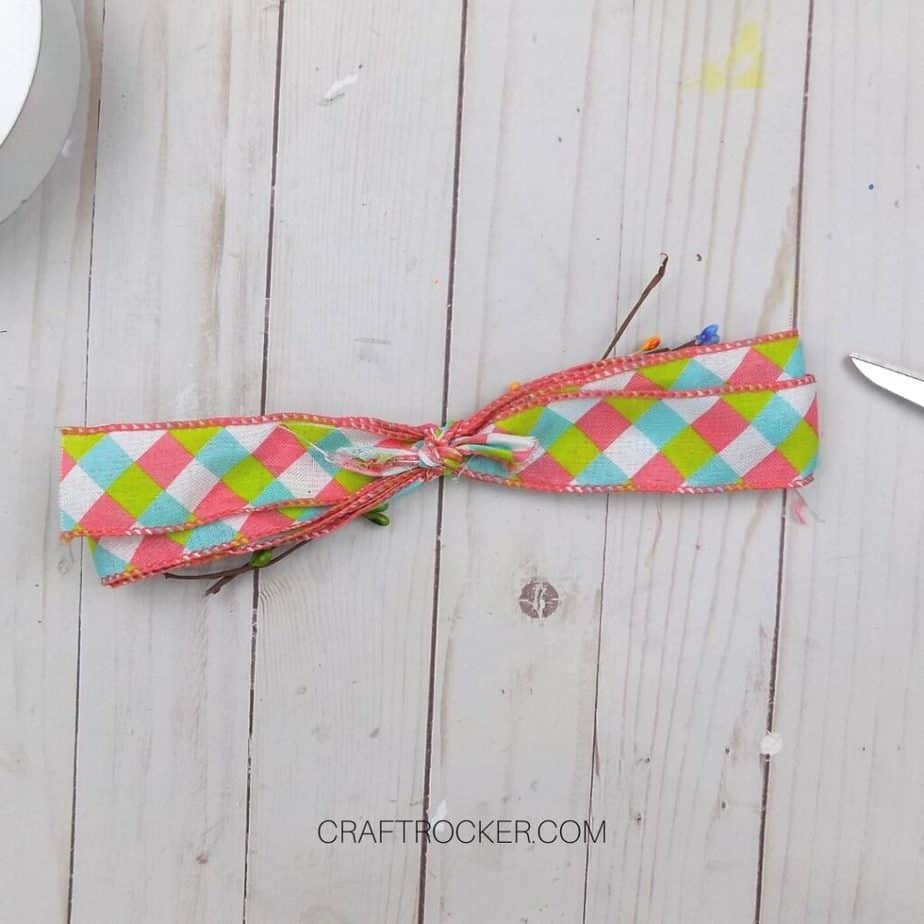
Then tie a second smaller length of ribbon around the center. I used one of my 6 inch lengths from earlier.
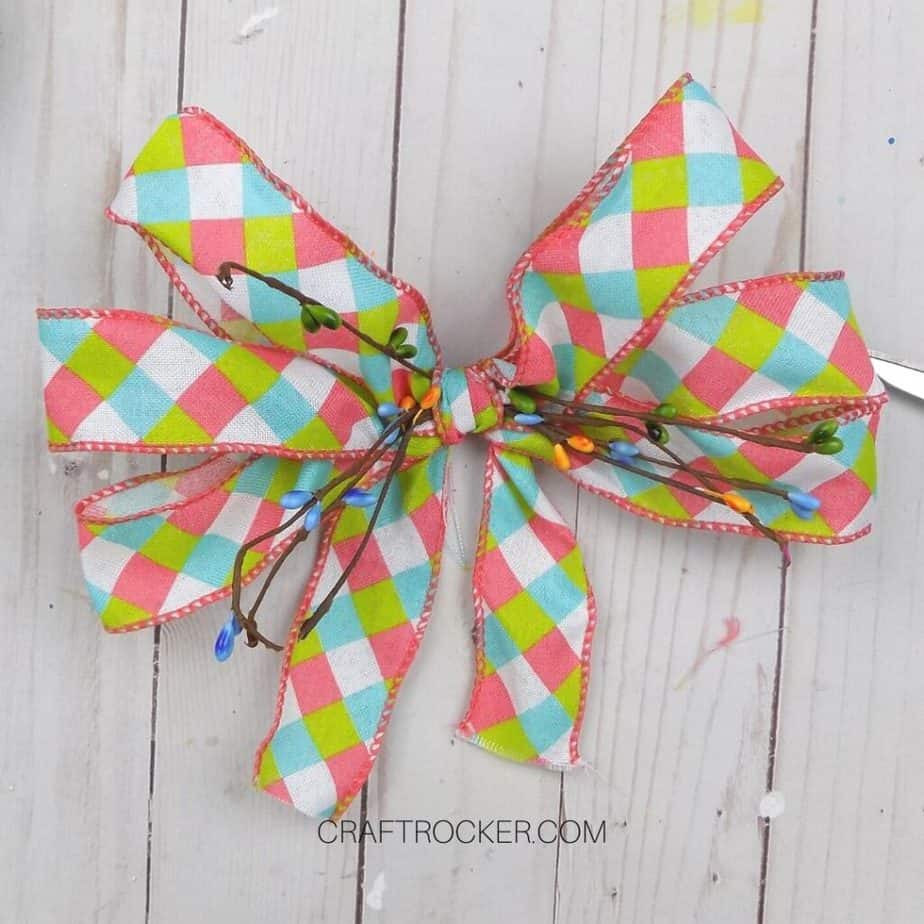
Lastly, fluff the ribbon by pulling apart the sections as you see pictured above. Then pull down the 2 loose ends and trim them by folding in half and cutting at an angle from the bottom wired side towards the folded center.
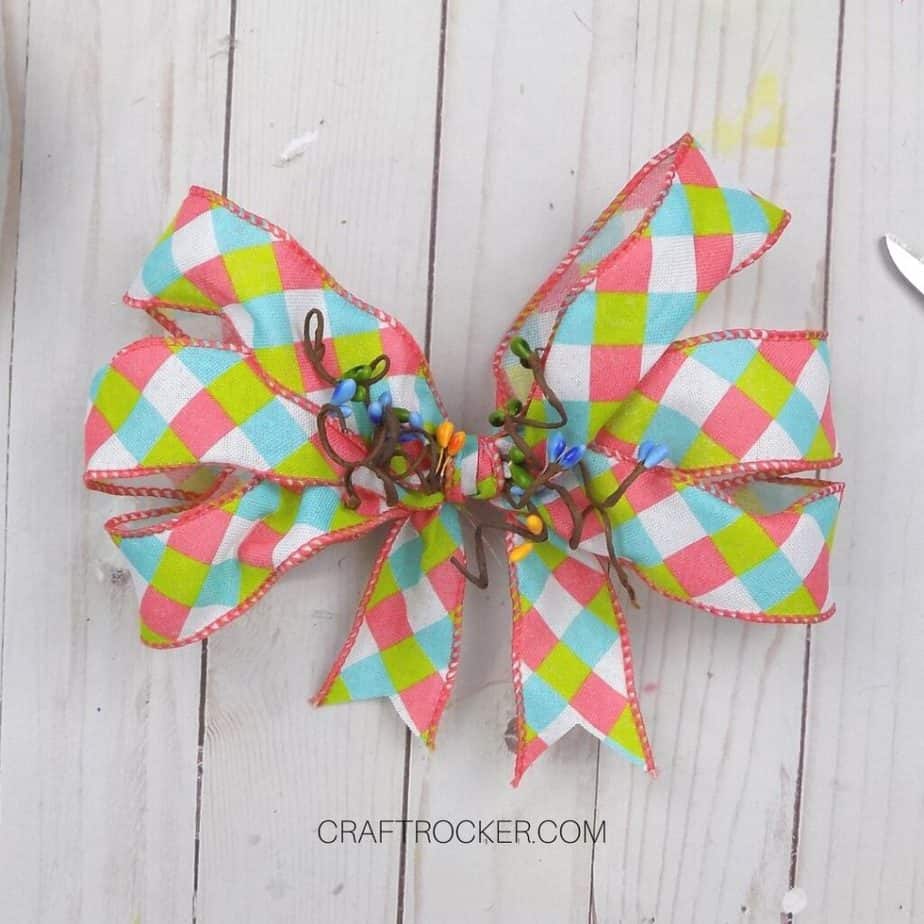
Again, take your pen and curl the floral sprigs on the bow.
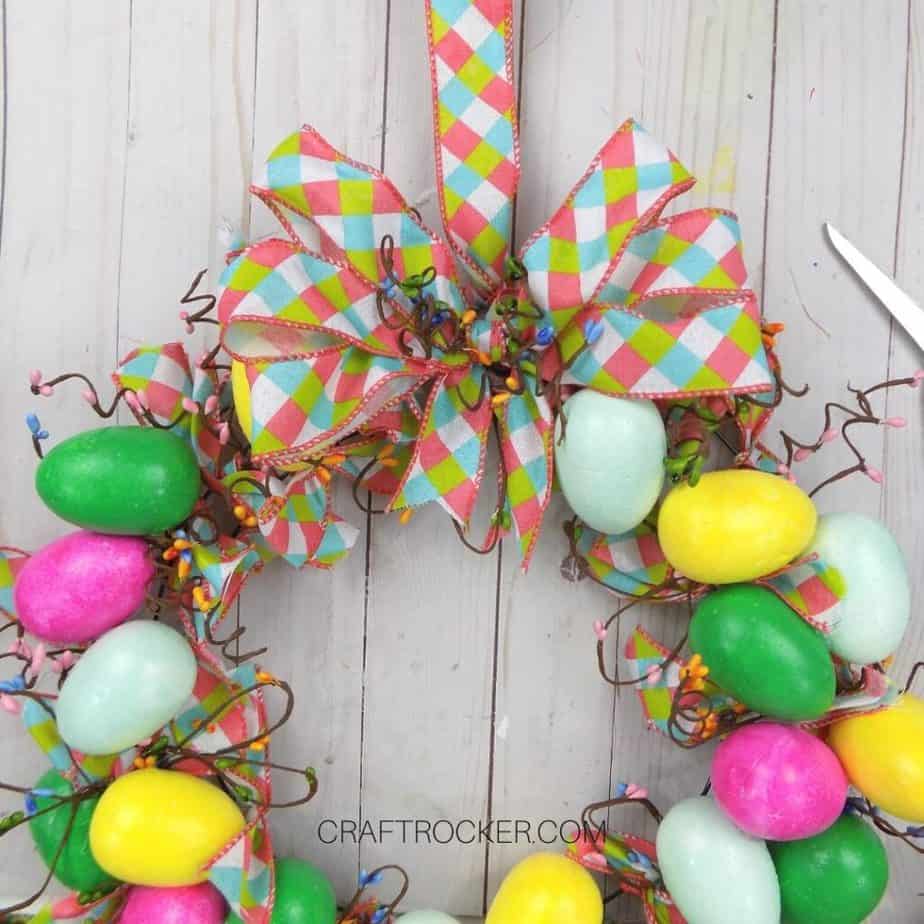
Step 9 – Attach Your Bow to the Wreath
Next, hot glue your assembled bow to your wreath form where the ribbon hanger is.
Fluff the bow again so that some of the glued eggs are peeking through.
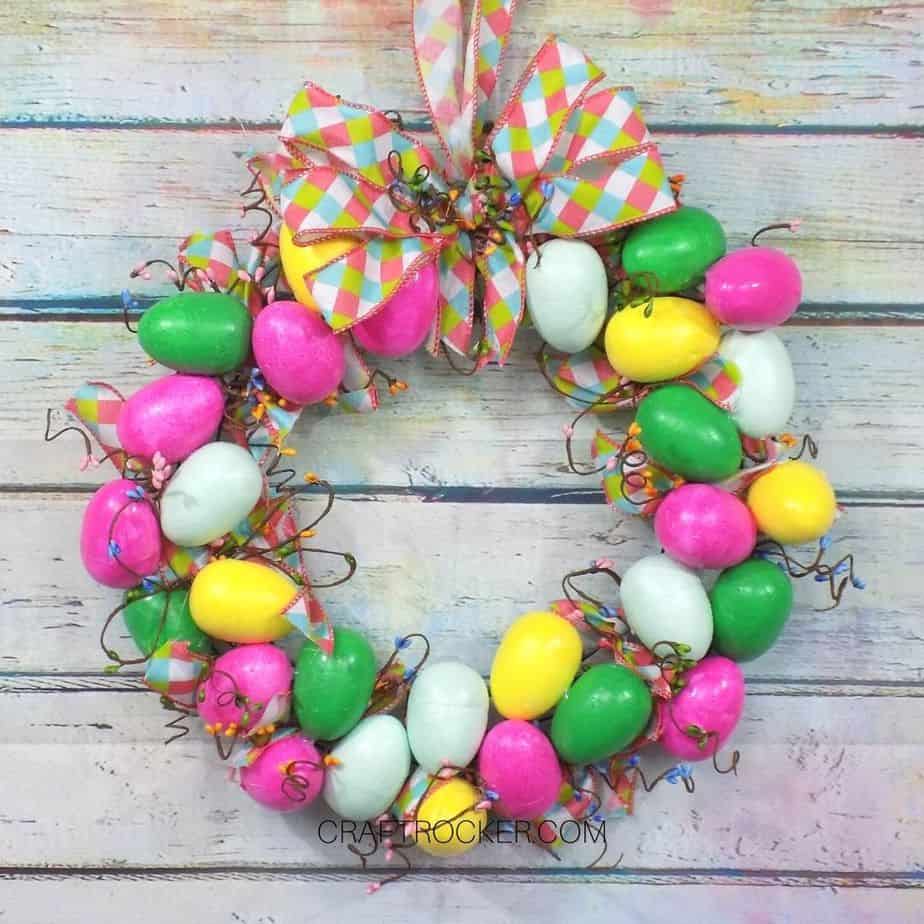
Step 10 – Glue on Remaining Eggs
Finish your wreath by hot gluing your remaining eggs to it. This is where you really fill out your wreath and get that dimension and layering to it.

Tips and Tricks
I recommend you hold your pieces in place while the hot glue cools when assembling your wreath. While the eggs are very light, when you start really filling it in, they can get pushed a little by the eggs that are there. Additionally, the heavier sprigs will fall right out if you don’t hold them where you want them while the glue cools.
The ribbon hanger size is always a recommendation. To get the most accurate length for your wreath, measure from where you want to attach it (on the wall or door) to where you would like the top of the wreath to sit. Then double that number.
I used a marker that is roughly as thick as a Sharpie to curl my floral sprigs. Using a smaller or larger marker will vary the tightness of the curls so if you want tighter curls, use a pencil. For looser curls, use a kids marker or fat dry erase marker.
Printable Easter Egg Wreath Tutorial
DIY Easter Egg Wreath
Dress up your door for spring in a colorful way with this DIY Easter egg wreath! This step-by-step tutorial makes it easy!
Materials
- Pack of 2.75 inch Foam Eggs
- Hot Pink, Green, Yellow, and Pale Teal Paint
- Small Round Paint Sponge
- Wire Wreath Form
- Hot Glue Gun and Glue Sticks
- 1.5 inch Wide Spring Diamond Wire Ribbon
- Scissors
- Spring Decorative Floral Sprigs
- Pen or Marker (Need for cylindrical form)
Instructions
- First, divide your eggs into 4 even groups. Then paint each group in the different paint colors listed in the materials.
- Set your eggs aside to dry completely. After they are dry, go back and fill in any spots you missed (such as where you were holding them) and again let them dry before moving on.
- After your painted eggs are dry, set aside 1/3 of them. Then hot glue the remaining ones to your wreath form.
- Next, cut 24-28 strips of ribbon that are 6” long.
- Also cut a length of ribbon that is 24” long. This will be the hanger you attach to the wreath.
- Now take the 36 inch long ribbon and knot the 2 loose ends together. Try to keep your knot as close to the bottom of the ends as possible.
- Then thread your tied ribbon through the edge of your wreath form and loop the end opposite the knot back through.
- Position it so that the knot is at the wreath frame end. Then add a small amount of hot glue to either side of the ribbon on the wreath form.
- Once your ribbon hanger is attached, attach the 6 inch strips of ribbon to your wreath form by sliding the ribbon through and twisting it once.
- Then add a dollop of hot glue to the twist and twist them again. You want to twist them instead of tie them because this way the right sides of the ribbon (the patterned side) are facing forward.
- Continue to fill out your wreath with all of the strips of ribbon. Some eggs will come off during this step (I had 3 come off). Don’t worry about that because you will add them back later.
- After your ribbons are attached to your wreath, prepare your floral sprigs by taking about 14 of them (in different colors) and folding them in half.
- Then twist the folded edge together to give your hot glue something to grip to later.
- Take another 3-4 of your floral sprigs and cut them in half. Then hold 2 at a time and loop them in half. This time twist the loose ends together and then fluff out the looped ends to look like bunny ears.
- Once all of your sprigs are prepared, hot glue them to your wreath in between the eggs and ribbons.
- After all of them are attached, go back and add curl to long sprigs by wrapping them around a pen or marker like a spring. Then gently slide the writing utensil out.
- Now cut another length of ribbon that is roughly 48 inches long. Repeated wrap it around itself so that the end result is a stack of ribbon that is roughly 8 inches long.
- Add 3-4 of your floral sprig halves to the top of the stack.
- Then tie a second smaller length of ribbon around the center. I used one of my 6 inch lengths from earlier.
- Lastly, fluff the ribbon by pulling apart the sections as you see pictured above. Then pull down the 2 loose ends and trim them by folding in half and cutting at an angle from the bottom wired side towards the folded center.
- Again, take your pen and curl the floral sprigs on the bow.
- Next, hot glue your assembled bow to your wreath form where the ribbon hanger is.
- Fluff the bow again so that some of the glued eggs are peeking through.
- Finish your wreath by hot gluing your remaining eggs to it. This is where you really fill out your wreath and get that dimension and layering to it.
Notes
- I recommend you hold your pieces in place while the hot glue cools when assembling your wreath. While the eggs are very light, when you start really filling it in, they can get pushed a little by the eggs that are there. Additionally, the heavier sprigs will fall right out if you don’t hold them where you want them while the glue cools.
- The ribbon hanger size is always a recommendation. To get the most accurate length for your wreath, measure from where you want to attach it (on the wall or door) to where you would like the top of the wreath to sit. Then double that number.
- I used a marker that is roughly as thick as a Sharpie to curl my floral sprigs. Using a smaller or larger marker will vary the tightness of the curls so if you want tighter curls, use a pencil. For looser curls, use a kids marker or fat dry erase marker.
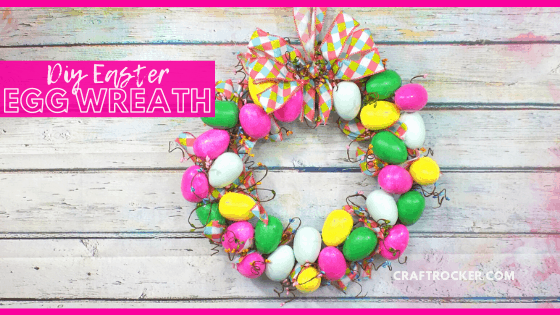
I absolutely love how this DIY Easter egg wreath turned out! It’s full of bright colors and cheeriness that go perfect with spring.
Don’t Forget to Pin It!
More Easter Crafts to Love
Easy and Adorable Bunny Butts Craft
Mini Mason Jar Easter Baskets – Inside the Fox Den

Super cute wreath! Lots of bright pretty colors, perfect for Easter.
Thank you, Linda! I’m a sucker for bright colors and rainbows in décor.